Use Gorgias to create support tickets
Available on: Professional, Business plans
Gorgias is an e-commerce helpdesk that helps you to centralize all support tickets in one place. It provides multichannel customer service from a single app. Gain productivity with automated responses to common questions and much more.
When you connect your form to a Gorgias account, each submission will add a new ticket to your support helpdesk, along with the contact name, email, and other data that you may consider important
Form Setup
Before using the Gorgias Plugin you must create a form to collect support requests. Any HTML form will work, as long as it contains “email” and “message” inputs. In addition, there are a few special named inputs you can use to customize the Gorgias ticket and contacts.
name=“email” (Required)
Your form can contain an “email” named input. To take advantage of built-in browser validation, set the input type to “email”.
Formspree will use the email address to create a new Gorgias contact. If a user already exists with the given email address, it will add the ticket under that account.
For example:
<input type="email" name="email" placeholder="Your email address" required>name=“name”
Adding an input named “name” or using “firstName” and “lastName” inputs will set the user’s name on the ticket.
This is an optional field.
<input type="text" name="firstName" placeholder="Your first name">
<input type="text" name="lastName" placeholder="Your last name">
or
<input type="text" name="name" placeholder="Your full name">name=“subject”
Adding an input named “subject” will set the subject line of the ticket. When implementing your form you may choose to use a text input and allow the user to provide their own subject line. For example:
<input type="text" name="subject" placeholder="What's the subject of your request?">Alternatively, you may choose to use a select input, allowing your visitor to select from a list of predefined subjects. For example:
<select name="subject">
  <option value="Technical Support Request">Technical Support Request</option>
  <option value="Sales Request">Sales Request</option>
</select>
name=“message”
Adding an input named “message” or “msg” will set the main text content of the support ticket. Normally it’s best to use a textarea tag for the message, allowing the visitor to type in multiple lines.
While not required server-side, you may want to add the required attribute if you want users to fill this out.
<textarea name="message"></textarea>name=“tags”
An input named “tags” can be used to add tags to the ticket. You should send the tags split by a comma.
This is an optional field.
<input type="text" name="tags" value="nice tag, another tag">Attachments and additional fields
Also is possible to attach files to the ticket. To do this check file uploads help article. Every uploaded file will be attached to the ticket. Please be aware of the file size limits.
Every other form field will be added as ticket metadata.
Connecting to Gorgias
Note: If you’re using the Formspree CLI please instead refer to our article Create support tickets in Gorgias to connect to Gorgias.
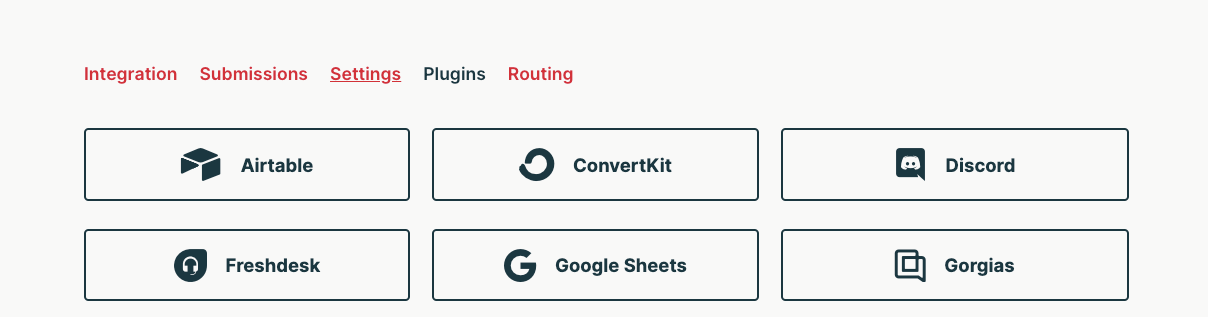
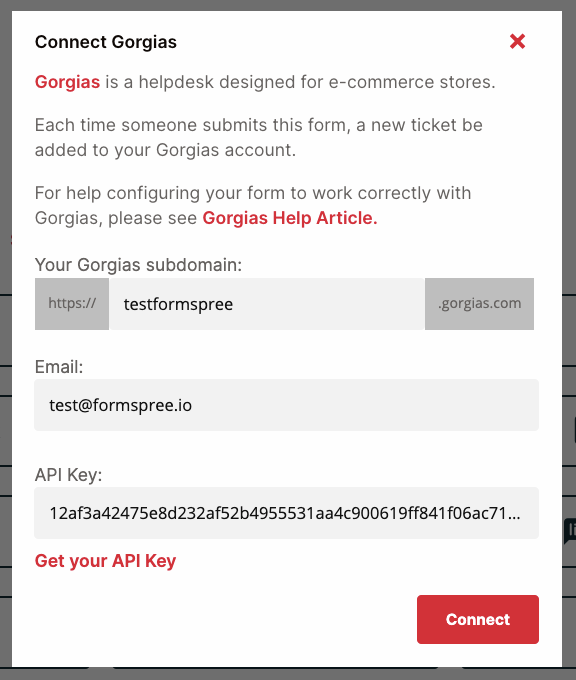
Once you’ve created and configured a form that, at a minimum, has an input named “email” and “message” you can connect to Gorgias using the Gorgias Plugin. To do so, first, go to the Plugins tab of your form. Then click the Gorgias button.
You’ll need to specify the subdomain of your Gorgias account, the connected email, and the API Key.
To get your API key follow these steps:
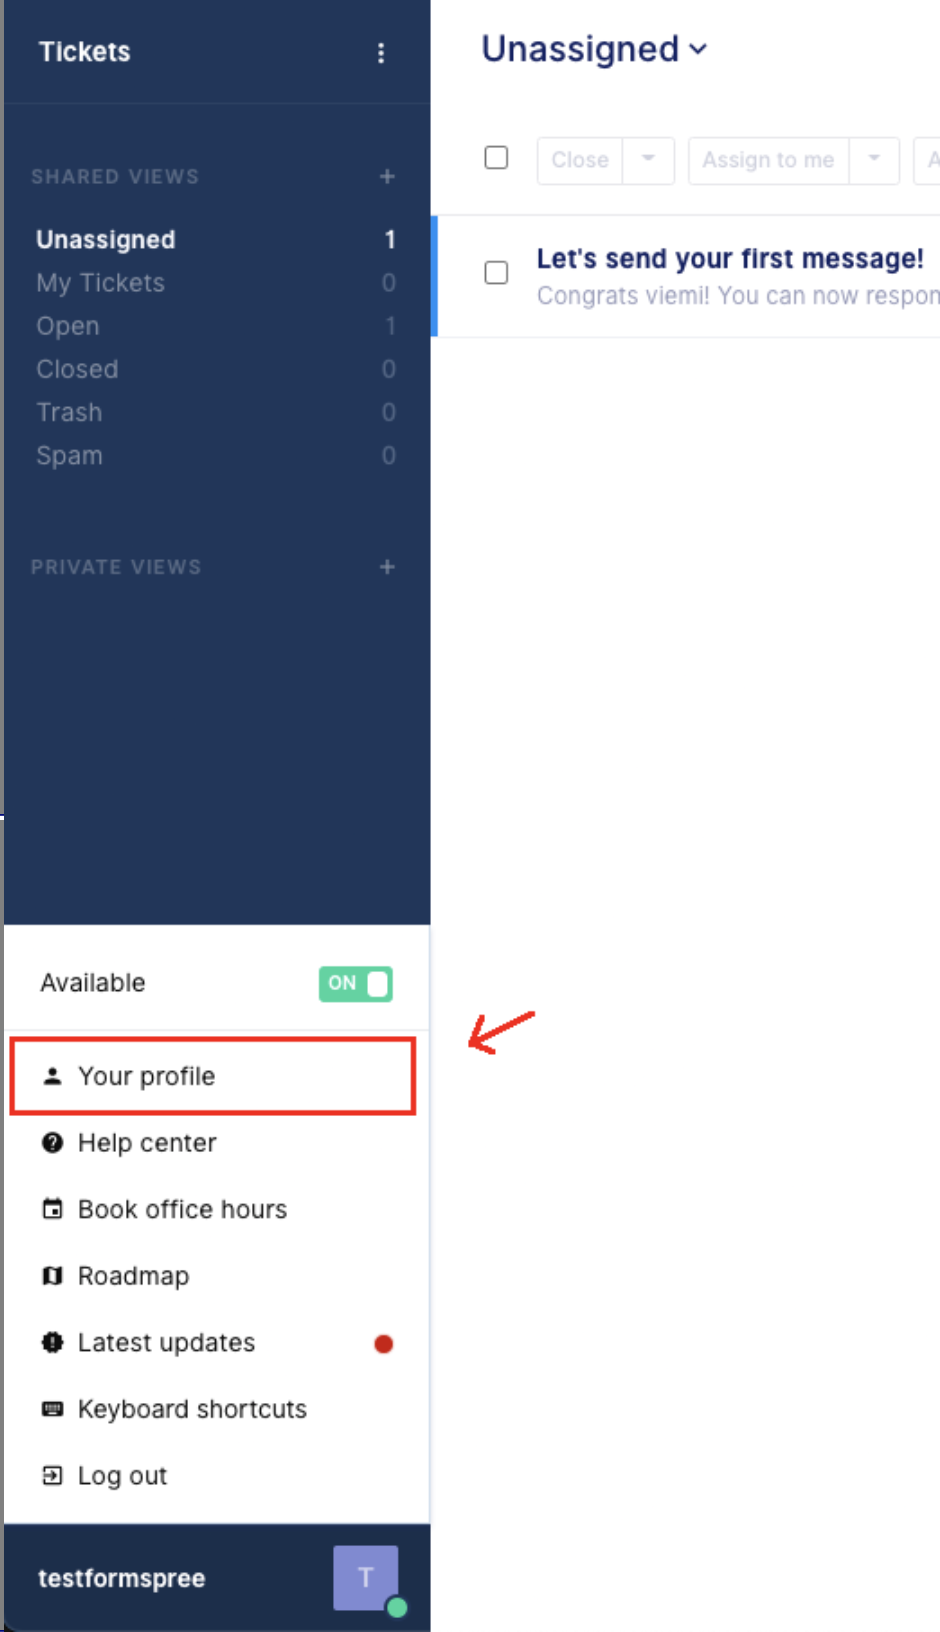
1. Log in to your account and in the left bottom corner click the bar with your name, then select your profile
2. At the top of the sidebar find Rest API and click it:
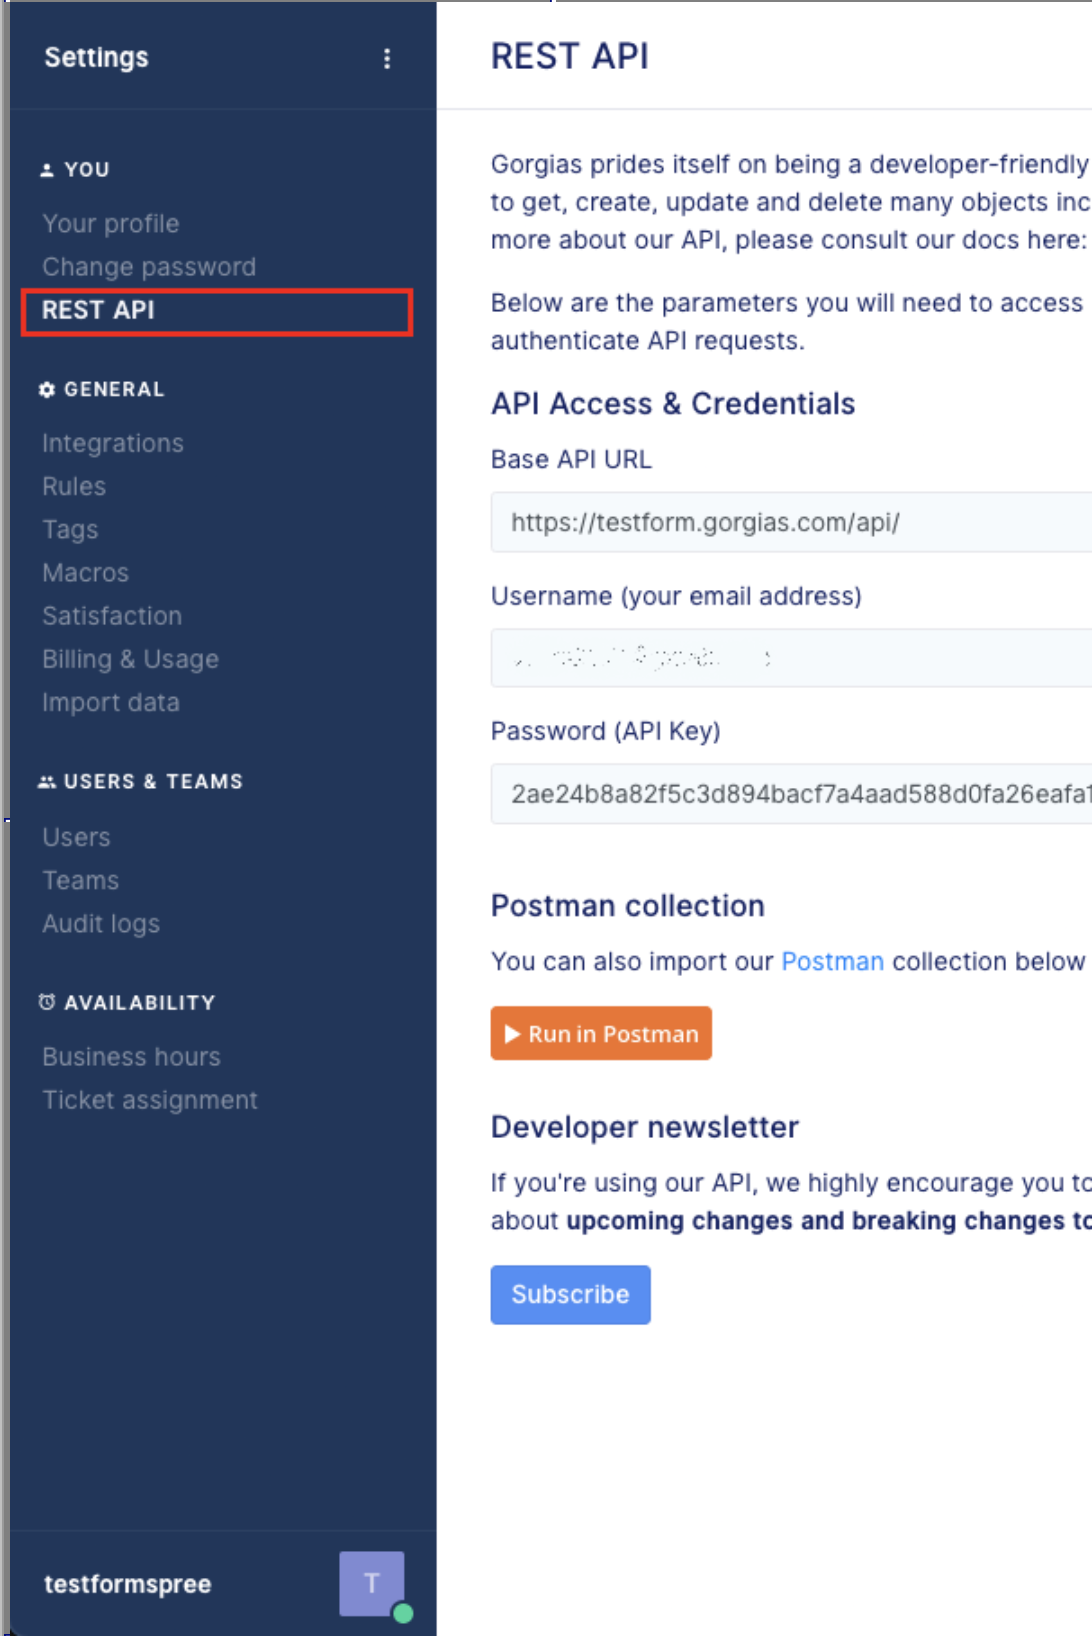
3. Copy your subdomain without https and gorgias.com, your username and password.
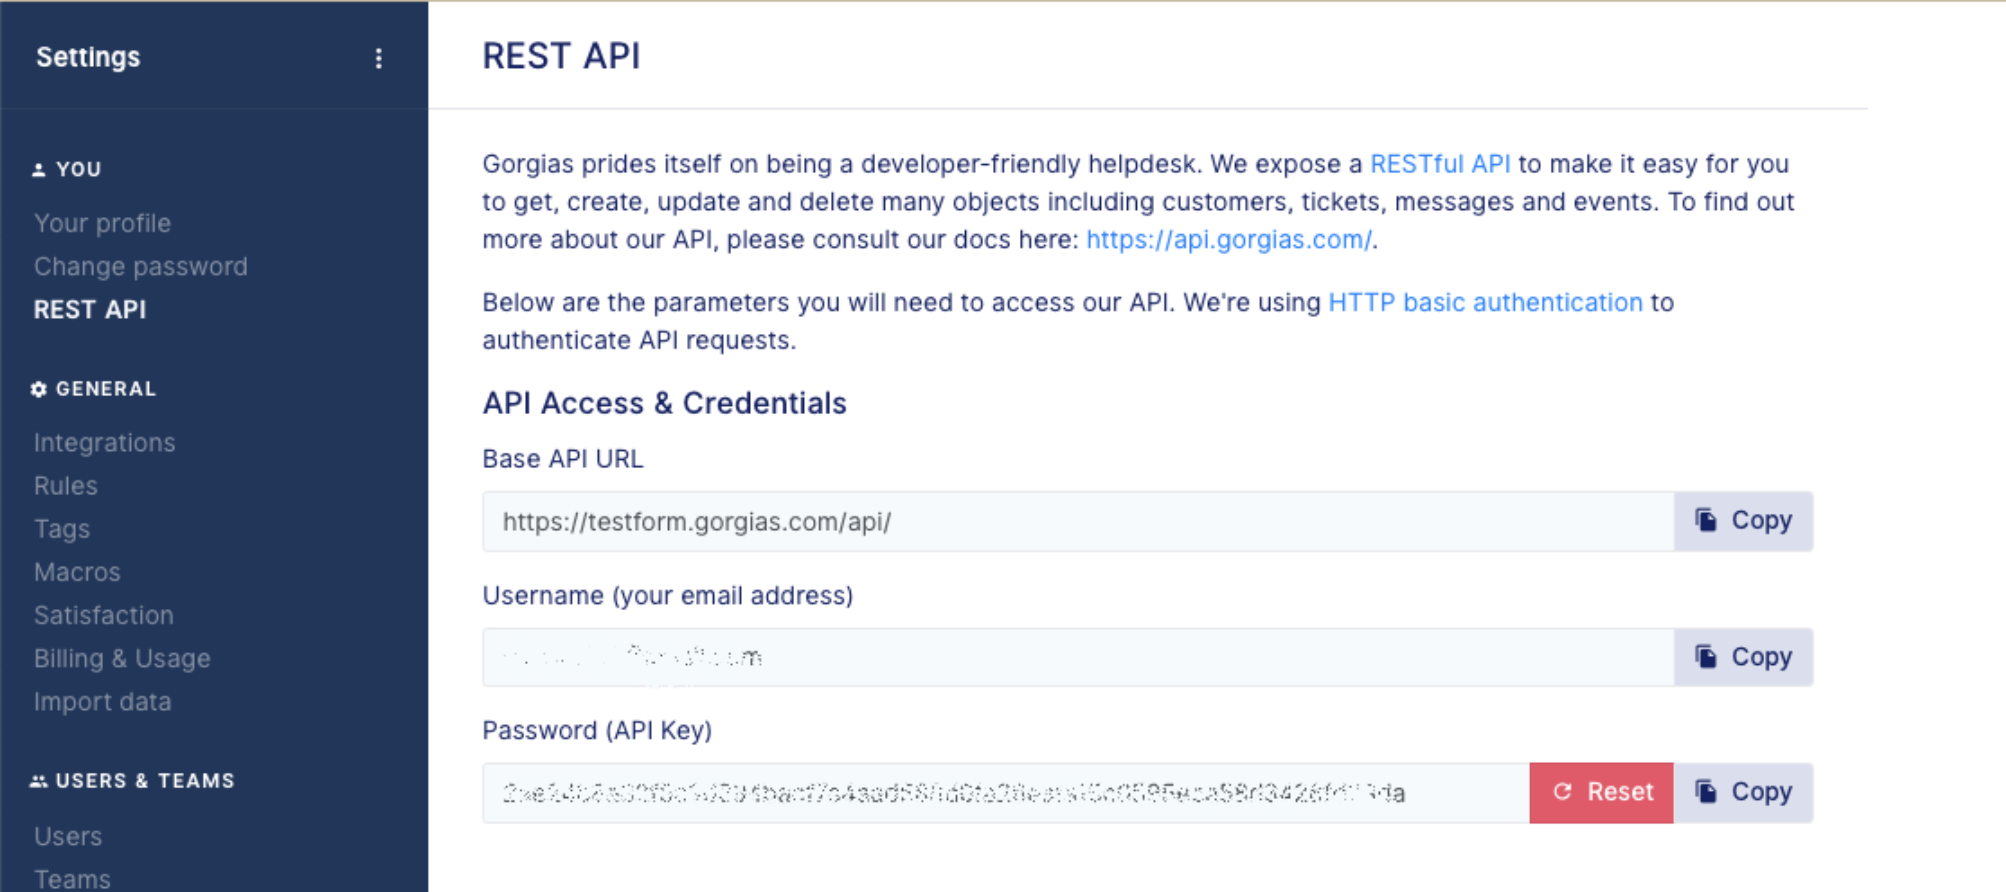
Then paste this information into Formspree.
Once you’ve connected you’ll see Gorgias settings modal:
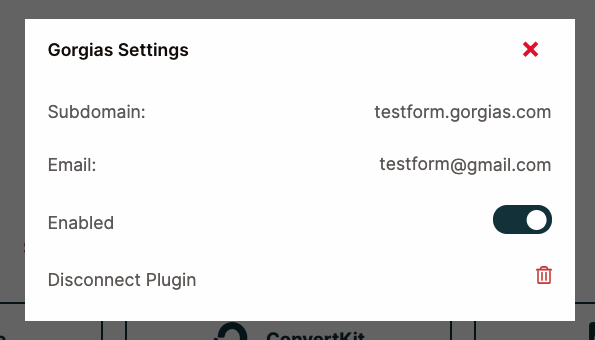
In the future, if you’d like to change the list or disable the plugin entirely, you can do so by clicking on the Gorgias button again to adjust its settings.