# StripeでSCA対応の決済を受け付ける
> Formspree Docs · プラグイン · 2026年2月28日
#### 対応プラン: Free(テストモード)、Professional、Business
Stripeは、加盟店がアプリやウェブサイトでクレジットカード決済を受け付けられる決済処理プラットフォームです。フォームをStripeアカウントに接続すると、ウェブサイトから請求を行い、支払いを受け取ることができます。
**新機能について**
Stripeプラグイン(V2)は、決済のバックエンド検証、寄付などへの可変課金、およびオプションの[強力な顧客認証(SCA)](https://stripe.com/docs/strong-customer-authentication)をサポートするようになりました。
強力な顧客認証(SCA)は、2019年9月14日に施行された規制です。欧州の顧客がオンライン決済を認証する方法の変更が求められています。この規制は、顧客の銀行と事業者の両方が[欧州経済領域(EEA)](https://en.wikipedia.org/wiki/European_Economic_Area)内にあるオンライン決済にのみ[適用](https://stripe.com/docs/strong-customer-authentication#impact)されます。
プラグイン設定にStripeの公開可能キーが表示されている場合は、新しいV2 Stripeプラグインを使用しています。公開可能キーが表示されない場合は、プラグインを削除して再接続することで最新バージョンに更新できます。データは失われません。
## ステップ1: Stripeへの接続
### テストモードとライブモード
テストモードとライブモードはほぼ同じように機能しますが、いくつかの違いがあります:
- テストモードでは、決済はカードネットワークや決済プロバイダーによって処理されず、[テスト用の決済情報](https://stripe.com/docs/testing)のみが使用できます。
- [Sources](https://stripe.com/docs/sources)を使用した一部の決済方法は、ライブモードでより複雑なフローがあり、テストモードよりも多くのステップが必要です。
- チャージバックもライブモードでより複雑なフローがあり、テストモードでは[より簡単なテストプロセス](https://stripe.com/docs/testing#disputes)があります。
- テストモードでは、正常に確認されなかった[ウェブフック](https://stripe.com/docs/webhooks)は数時間以内に3回再試行されます(ライブモードでは72時間)。
テスト用の請求を確認するには、Stripeダッシュボードに移動して「View Test Data」をクリックしてください。

_**テストモードからライブモードに切り替えたい場合は、プラグインを削除して再作成し、Stripe OAuthを通じて新しい有効な認証情報を取得する必要があります。**_
_開発・ステージング環境のフォームをテストモードに、本番フォームをライブモードに接続することをお勧めします。_
### Stripeプラグインの設定
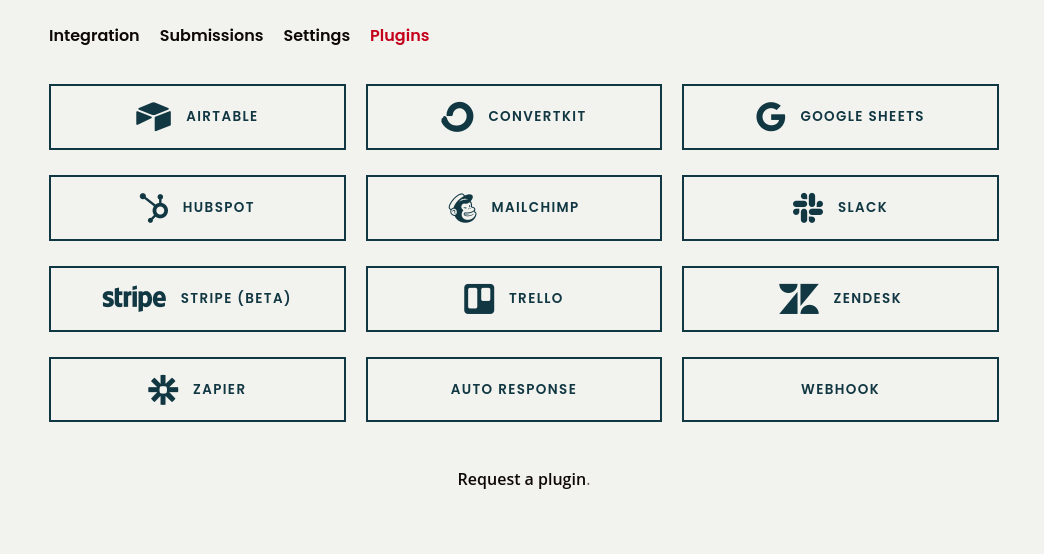
Formspreeでフォームを追加したら、StripeプラグインでStripeに接続できます。まず、フォームのプラグインタブに移動し、Stripeプラグインボタンをクリックしてください。
Stripeプラグインボタンをクリックすると、テストモードまたはライブモードで接続できるようになります。
**テストモード**はすべてのプランで利用可能です。**ライブモード**はアップグレードされたプランのみで利用可能です。
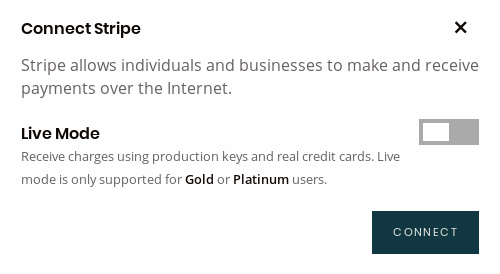
使用するモードを選択して「Connect」をクリックしてください。Stripeのユーザー名とパスワードでログインすると、このフォームのStripe課金情報を設定するよう求められます。フォームが送信されるたびに課金される通貨と金額を設定してください。
**可変価格を許可する**をクリックすると、開発者やサイト訪問者がクライアント側で価格を設定できるようになります。これにより、寄付などの可変金額を請求するフォームを作成できます。また、選択した商品など、他の要因によって異なる価格を請求するフォームにも使用できます。**可変価格を許可する**をクリックすると、**price**フォームフィールドから価格が読み取られます。
_**注意: 可変価格が有効な場合、どのお客様もこの値を直接変更したり、コードをリバースエンジニアリングして任意の金額で課金を作成したりすることができます。Stripeアカウントに送信された課金を必ず確認してください。この値はバリデーションしていません。**_
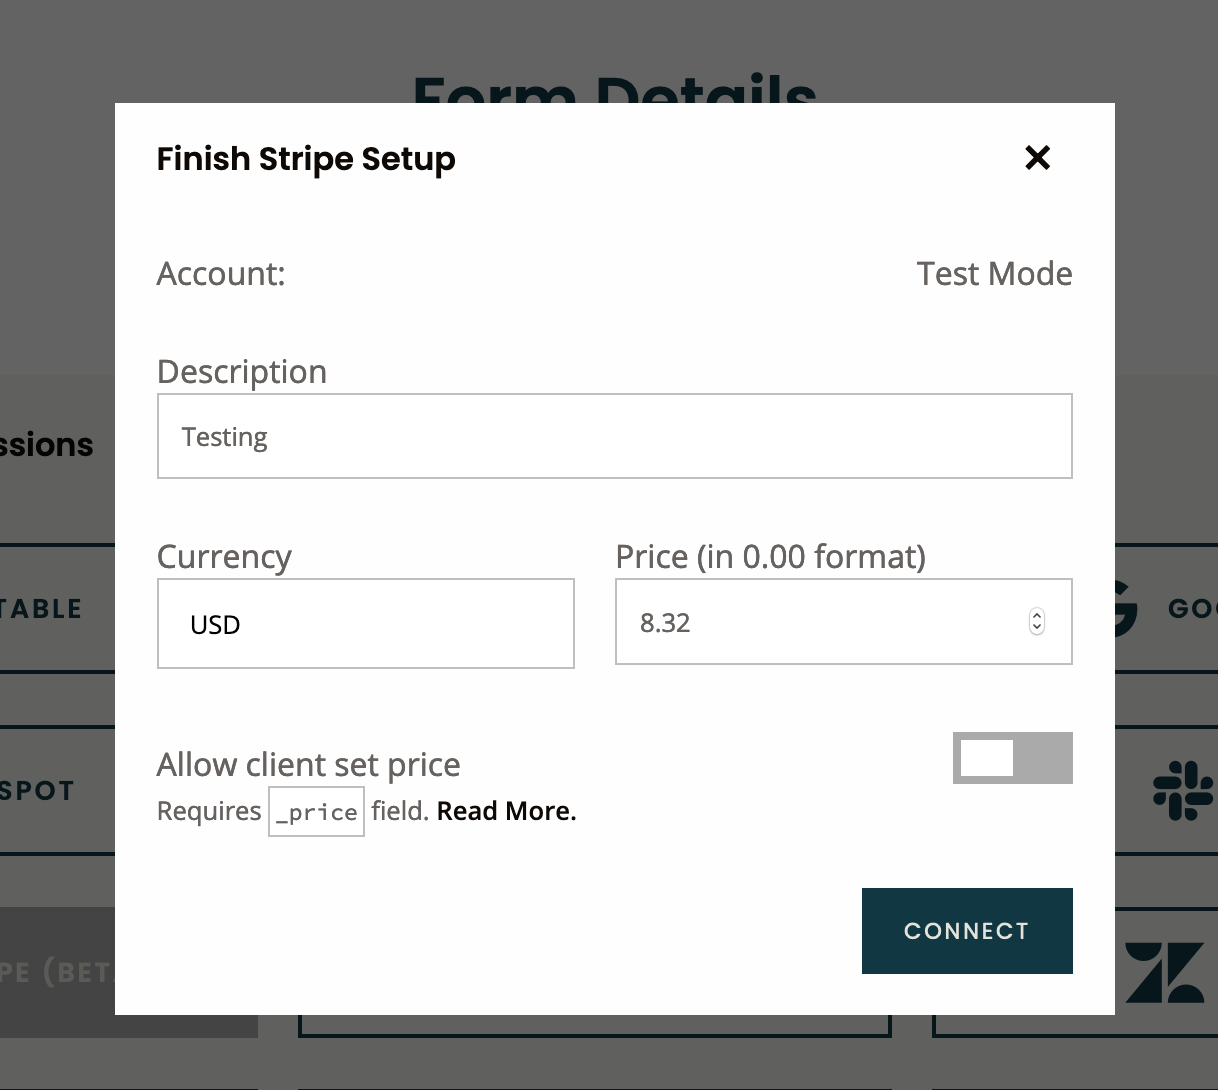
設定が完了したら、**Connect**をクリックしてプラグインを有効化します。
今後、説明や価格を変更したり、プラグインを完全に無効化したりする場合は、Stripeボタンを再度クリックして設定を調整してください。
Stripeプラグインの設定・接続が完了すると、このメッセージが表示されます:
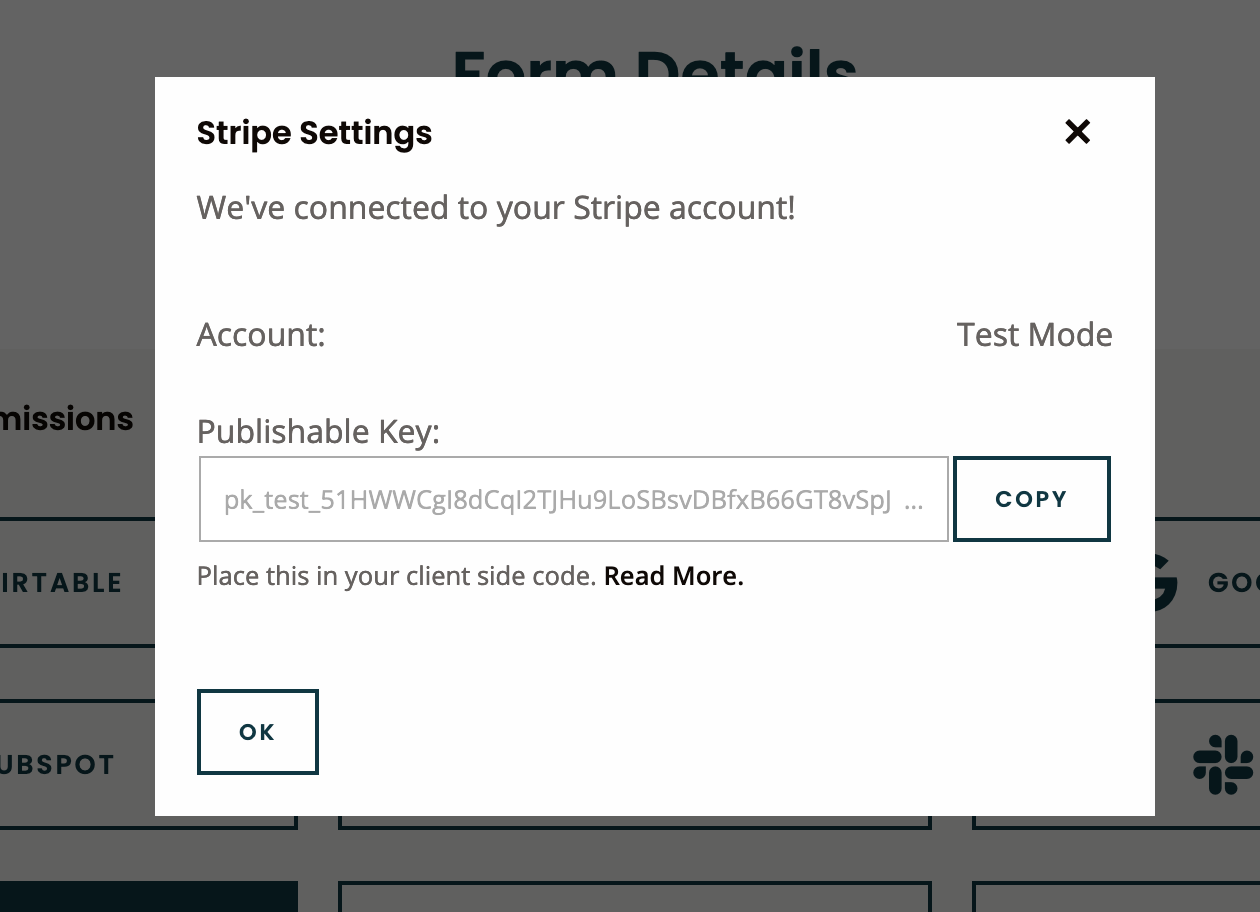
**公開可能キー**をコピーしてください。チェックアウトワークフローの構築に使用します。
## ステップ2: Stripe Elementsを使ったチェックアウトフローの構築(SCA不要)
**注意**: Reactを使用している場合は、[Stripeを使ったカスタムReact決済フォームの構築方法](https://formspree.io/blog/custom-payment-stripe/)のチュートリアルをご覧ください。
FormspreeのフォームにStripeプラグインを設定したら、チェックアウトフローを構築する時間です。支払いを請求するには、クレジットカードをトークン化してFormspreeに安全に送信する必要があります。
簡単な方法の一つは[Stripe Elements](https://stripe.com/payments/elements)を使用することです。これはチェックアウトフローを構築するための入力フィールドやボタンなどの事前構築されたUIコンポーネントセットです。Stripe.jsの機能として提供されています。Stripe.jsは、Elementの機密情報をあなたや私たちのサーバーに触れることなく_トークン化_します。
その後、トークン化された決済方法をFormspreeに送信するだけで、決済の作成と請求が行われます。
[Stripeのドキュメント](https://stripe.com/docs/payments/accept-a-payment-synchronously)を参考にした例を以下に示します:
**HTMLファイル**
```html
Checkout
```
**JSファイル**
```javascript
$(document).ready(function () {
// Stripe settings
var stripe = Stripe("YOUR_PUBLISHABLE_KEY_COPIED_FROM_DASHBOARD");
var elements = stripe.elements();
var style = {
base: {
color: "#32325d",
},
};
var card = elements.create("card", {
style: style,
});
card.mount("#card-element");
card.on("change", ({ error }) => {
const displayError = document.getElementById("card-errors");
if (error) {
displayError.textContent = error.message;
} else {
displayError.textContent = "";
}
});
// end stripe
var form = document.getElementById("payment-form");
form.addEventListener("submit", function (event) {
event.preventDefault();
// Tokenize card info
stripe
.createPaymentMethod({
type: "card",
card: card,
billing_details: {
// Include any additional collected billing details.
name: "Jenny Rosen",
email: "jenny@rosen.com",
},
})
.then(stripePaymentMethodHandler);
});
function stripePaymentMethodHandler(result) {
if (result.error) {
// Show error to user
console.log(result.error);
} else {
// Otherwise send payment method to your server
fetch("https://formspree.io/f/FORM_ID", {
method: "POST",
headers: { "Content-Type": "application/json" },
body: JSON.stringify({
// Send the tokenized card
paymentMethod: result.paymentMethod.id,
email: "jenny@rosen.com",
// add here any data that you want to send to Formspree
}),
}).then(function (result) {
// Handle server response
result.json().then(function (json) {
handleServerResponse(json);
});
});
}
}
function handleServerResponse(response) {
if (response.error) {
// Display errors on the payment form
console.log(response.error);
} else {
// Display a success message
console.log("Payment finished successfully");
}
}
});
```
Stripe Elementsのスタイリングについては、[こちらの例](https://gist.github.com/colevscode/9cf19623e157cbe6822ffb8bd6e707fb)や、フォームのリセットスタイルの例を[こちら](https://gist.github.com/colevscode/ce67075b62f843b7e95b1d5a1370035b)でご確認ください。
この時点で、EU以外のカード保有者への課金が可能な機能的なフォームができました。
## ステップ3: (オプション)SCA決済のサポート
ステップ2を完了すると、フォームはStripeで正しく送信され、課金が作成されるはずです。ただし、送信者の銀行がSCAを必要とする場合、フォームはエラーを生成します。SCAをサポートするには、前のフローにもう一つのステップを追加する必要があります。
最初のリクエストで、Formspreeサーバーは[Payment Intent](https://stripe.com/docs/payments/payment-intents)の作成と課金を試みます。カードがSCAなどの追加アクションを必要とする場合、課金は失敗し、Payment Intentは`requires_action`のステータスを返します。
Formspreeサーバーは以下の情報とともにHTTP Status 402を返します:
- 作成されたPayment Intent ID
- 決済を検証するためにStripeへのリクエストに使用されるPayment Intentクライアントシークレット
- 決済が検証されたらFormspreeへのリクエストを再送信するために使用される`resubmit_key`
#### **レスポンスボディの例**
```javascript
{
"message": "requires_action",
"resubmitKey": ,
"stripe": {
"paymentIntentId": ,
"paymentIntentClientSecret": ,
"requiresAction": true
}
}
```
`payment_intent_client_secret`を送信してStripeの[handleCardAction](https://stripe.com/docs/js/payment_intents/handle_card_action)関数を呼び出すことで決済を検証できます。これにより、[3DSモーダル](https://stripe.com/docs/payments/3d-secure)を開いてSCAを完了するなど、必要なフロントエンド検証が実行されます。
以下の例では、前のステップで作成した`handleServerResponse()`関数を更新して、必要なアクションをキャッチする方法を示します。その後、Payment Intentと新しい`resubmit_key`でフォームを再送信します。
**JSの例**
```javascript
function handleServerResponse(response) {
if (response.error) {
// Show error from server on payment form
console.log(response.error);
} else if (response && response.stripe.requiresAction) {
// Stripe require additional actions to charge this card
// Use Stripe.js to handle required card action and open 3DS
stripe
.handleCardAction(response.stripe.paymentIntentClientSecret)
.then(function (stripeResult) {
// TODO: implement this function to resubmit the form
resubmitForm(stripeResult, response.resubmitKey);
});
} else {
console.log("Payment finished successfully");
}
}
```
#### **Stripe 3DSモーダル**
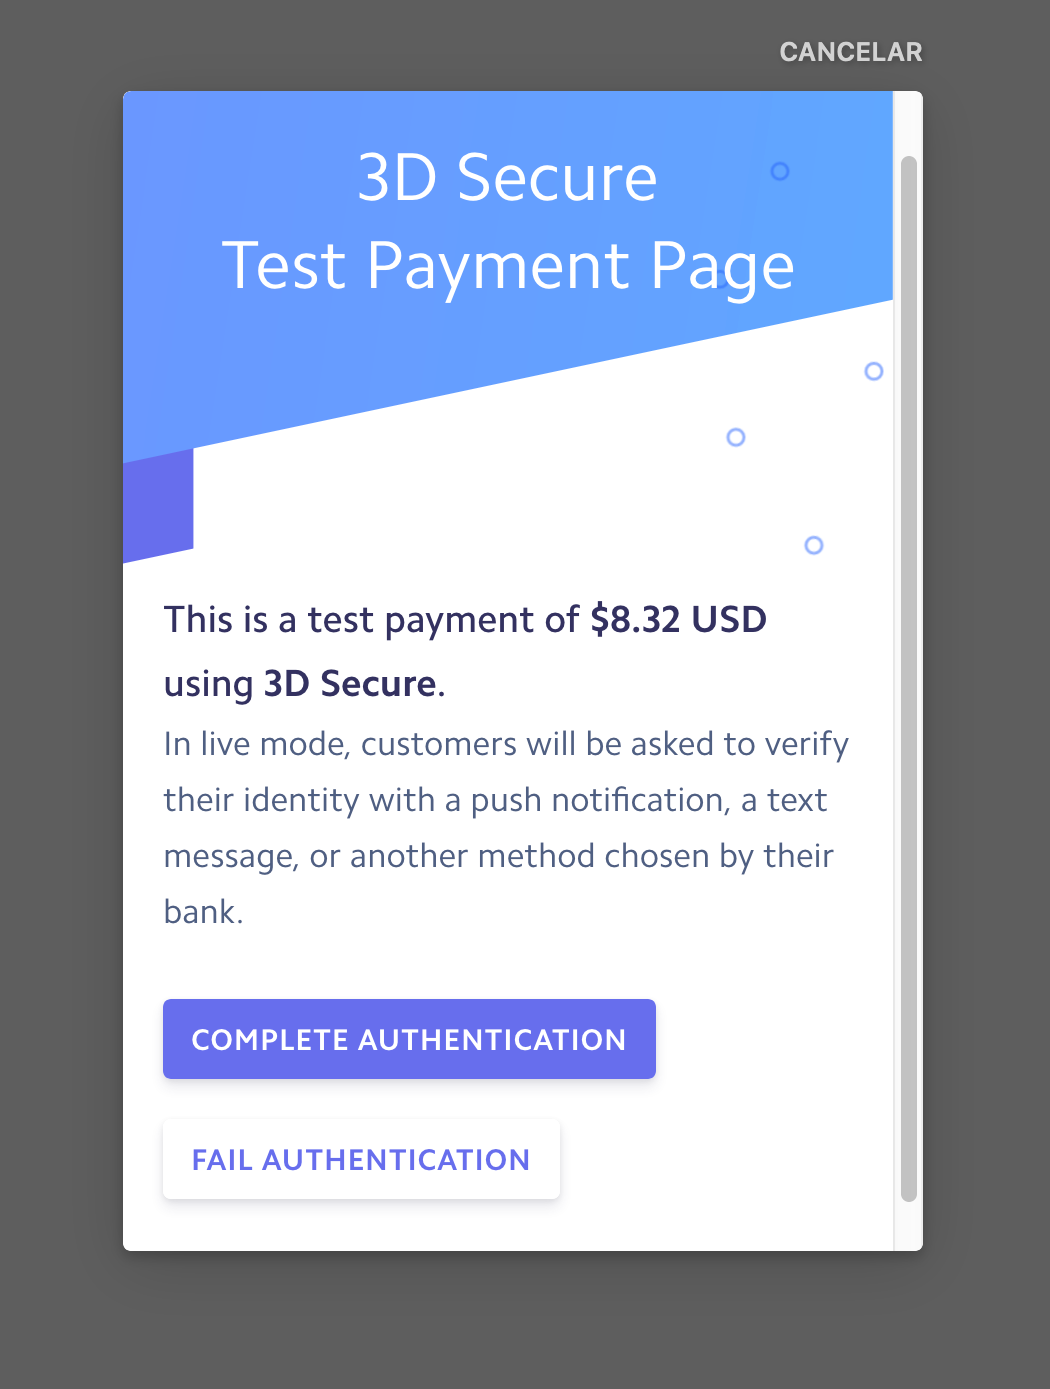
[handleCardAction](https://stripe.com/docs/js/payment_intents/handle_card_action)関数が成功した場合、`resubmit_key`と最初の失敗した試みの後に受け取った`paymentIntent`を送信して、フォームをFormspreeに再送信できます。
**フォームの再送信例:**
```javascript
function resubmitForm(result, resubmitKey) {
console.log("handle Stripe SCA result");
if (result.error) {
// Show error in payment form
console.log("Stripe SCA error");
} else {
// The card action has been handled
// The PaymentIntent can be confirmed again on the server
fetch('https://formspree.io/f/', {
method: 'POST',
headers: { 'Content-Type': 'application/json' },
body: JSON.stringify({
paymentIntent: result.paymentIntent.id ,
resubmitKey: resubmitKey,
email: 'jenny@rosen.com',
})
}).then(function(result) {
return result.json();
}).then(handleServerResponse);
}
}
```
Formspreeが2回目の送信を受け取ると、クライアント側のStripeのSCAフローを通じて検証されたカード情報でPayment Intentへの課金を再試行します。元の送信と同じフィールドを再送信できます。これらのフィールドへの変更はフォームデータを更新します。
`resubmit_key`は適切なタイミングで使用されなければ有効期限が切れます。この場合、FormspreeはHTTP 404レスポンスステータスコードを返します。
## まとめ
まとめると、手順は次の通りです:
1. カードへの課金を試みます。SCAが必要な場合、Payment Intentデータとresubmit keyを含む402レスポンスが返されます。
2. 最初の試みから返されたPayment Intentクライアントシークレットを使用してStripeのhandleCardActionを呼び出し、[3DS](https://stripe.com/docs/payments/3d-secure)を実行します。
3. resubmit key、Payment Intent ID、メールアドレスを送信してフォームを再送信します。Formspreeは送信を完了するために課金を再試行します。
SCA対応の完全なチェックアウトフローをご覧ください。
**JSファイル(SCA対応)**
```javascript
$(document).ready(function () {
// Stripe settings
var stripe = Stripe("YOUR_PUBLISHABLE_KEY_COPIED_FROM_DASHBOARD");
var elements = stripe.elements();
var style = {
base: {
color: "#32325d",
},
};
var card = elements.create("card", {
style: style,
});
card.mount("#card-element");
card.on("change", ({ error }) => {
const displayError = document.getElementById("card-errors");
if (error) {
displayError.textContent = error.message;
} else {
displayError.textContent = "";
}
});
// end stripe
var form = document.getElementById("payment-form");
form.addEventListener("submit", function (ev) {
event.preventDefault();
stripe
.createPaymentMethod({
type: "card",
card: card,
billing_details: {
// Include any additional collected billing details.
name: "Jenny Rosen",
email: "jenny@rosen.com",
},
})
.then(stripePaymentMethodHandler);
});
function stripePaymentMethodHandler(result) {
if (result.error) {
console.log("Error creating payment method");
} else {
// First submission attempt
fetch("https://formspree.io/f/FORM_ID", {
method: "POST",
headers: { "Content-Type": "application/json" },
body: JSON.stringify({
paymentMethod: result.paymentMethod.id,
email: "jenny@rosen.com",
}),
}).then(function (response) {
// Handle server response (see Step 4)
response.json().then(function (json) {
handleServerResponse(json);
});
});
}
}
function handleServerResponse(response) {
if (response.stripe && response.stripe.requiresAction) {
// Stripe require additional actions to charge this card
// Use Stripe.js to handle required card action and open 3DS
stripe
.handleCardAction(response.stripe.paymentIntentClientSecret)
.then(function (stripeResult) {
// Get handleCardAction response and resubmit
resubmitForm(stripeResult, response.resubmitKey);
});
} else if (response.error) {
// Show error from server on payment form
console.log(response.error);
} else {
console.log("Payment finished successfully");
}
}
function resubmitForm(result, resubmitKey) {
console.log("handle Stripe SCA result");
if (result.error) {
// Display error in the payment form
console.log("Stripe SCA error");
} else {
// The card action has been handled
// The PaymentIntent can be confirmed again on the server
fetch("https://formspree.io/f/FORM_ID", {
method: "POST",
headers: { "Content-Type": "application/json" },
body: JSON.stringify({
paymentIntent: result.paymentIntent.id,
resubmitKey: resubmitKey,
email: "jenny@rosen.com",
}),
})
.then(function (confirmResult) {
return confirmResult.json();
})
.then(handleServerResponse);
}
}
});
```
StripeおよびStripe SCAを使ったテストの詳細については、[https://stripe.com/docs/testing](https://stripe.com/docs/testing)と[ブログ記事](https://formspree.io/blog/custom-payment-stripe/)をご覧ください。