Add Subscribers to ConvertKit Lists
Available on: Professional, Business plans
ConvertKit is an email marketing platform built specifically for creators like bloggers, podcasters, designers, and small business owners who want to grow and engage their audience. It focuses on helping you build meaningful connections through powerful automation, visual email sequences, and tag-based subscriber management.
When you connect your form to a ConvertKit account, each submission will automatically create or update a subscriber in your audience list. Along with the email address, you can capture additional details such as name, custom fields, and tags for segmentation. If a subscriber with the same email already exists, ConvertKit will simply update their information instead of creating a duplicate.
Form Setup
Before using the ConvertKit Plugin, you need to create a form to collect new submissions. Any HTML, CSS, and Javascript form will work.
name=“email” (Required)
Adding an input named “email” will set the primary email of the new subscriber in your Convertkit list. This is the only required property. If the same address gets submitted twice it will not be duplicated in the list.
<input type="email" name="email" required/>name=“name”
Adding an input named “name”, will set the name of the subscriber that will be added. This is an optional field.
<input type="text" name="name" />Connecting to Convertkit
Note: If you’re using the Formspree CLI, please instead refer to our article Add subscribers to Convertkit to connect to Convertkit.
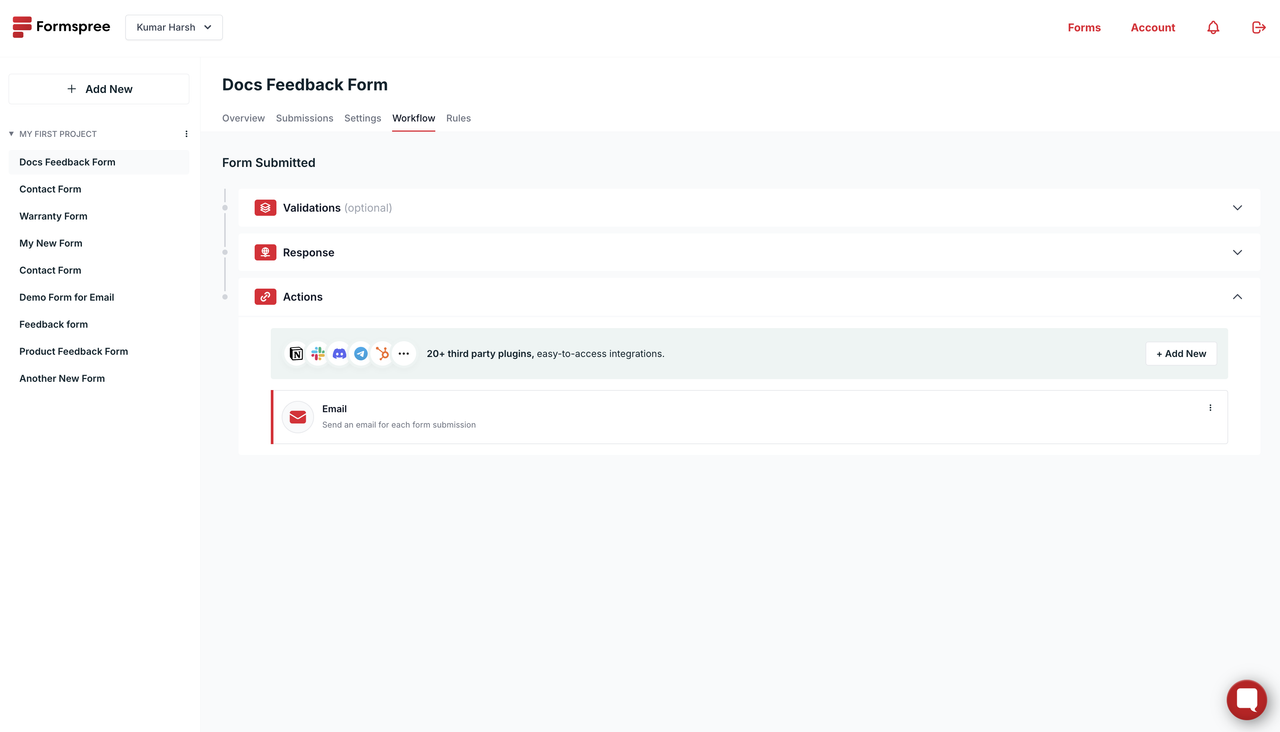
Once you’ve created and configured a form, you can connect to Convertkit using the Convertkit Plugin. To do so, first, go to the Workflows tab of your form. Then, click the + Add New button:
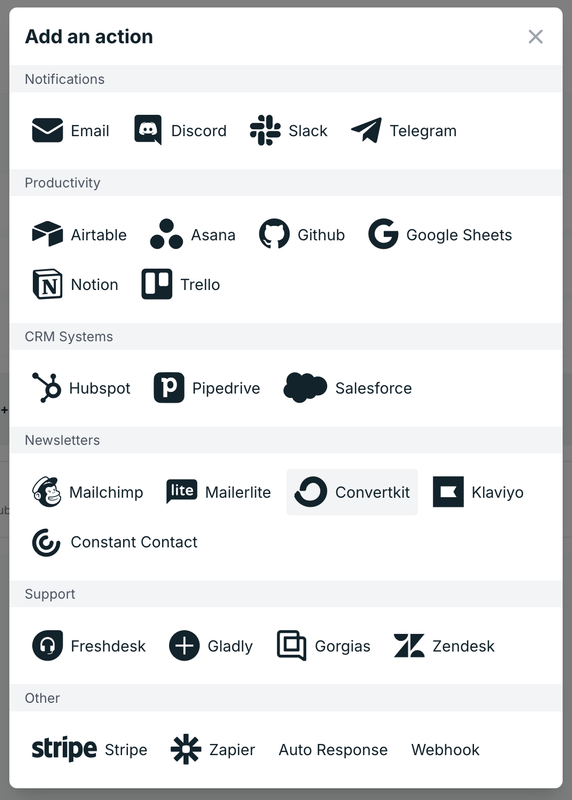
It will trigger a popup titled Add an action. In this popup, select the Convertkit plugin under Newsletters:
It will trigger a popup that will ask you to inform your API Key to connect to your Convertkit account.
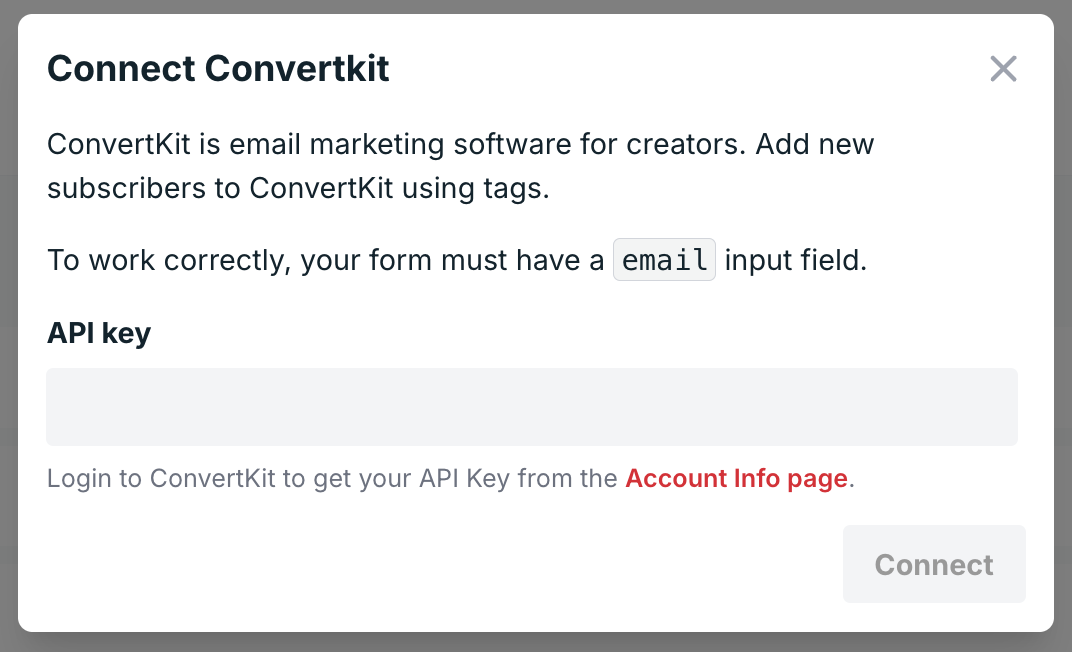
You can follow instructions given here to retrieve your API Key. Make sure to retrieve the v3 key.
Next, you’ll need to choose the tag to assign to the subscribers created using this integration. If you don’t have one, you’ll need to create it by going to your Convertkit subscribers page and clicking the + icon next to All Tags in the All subscribers section of the sidebar:
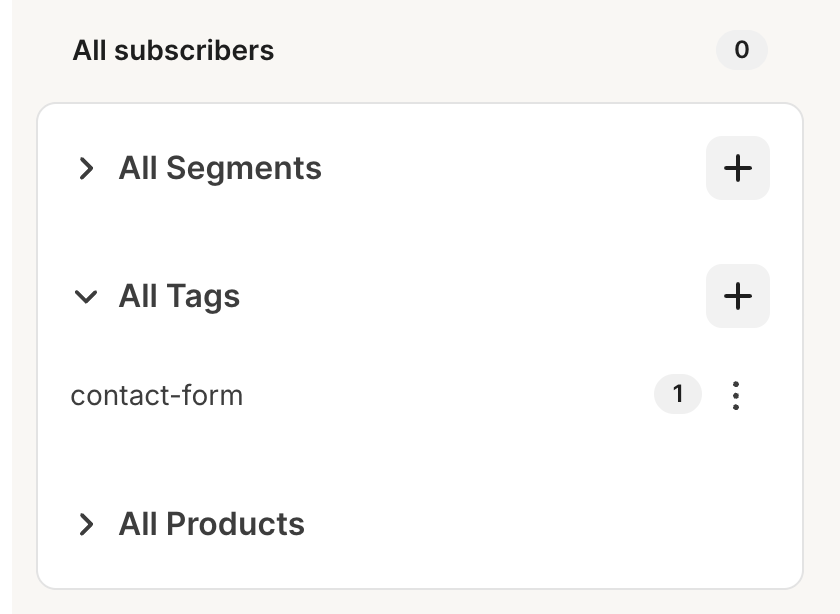
Tags added here will appear in your Convertkit integration popup on the Formspree dashboard:
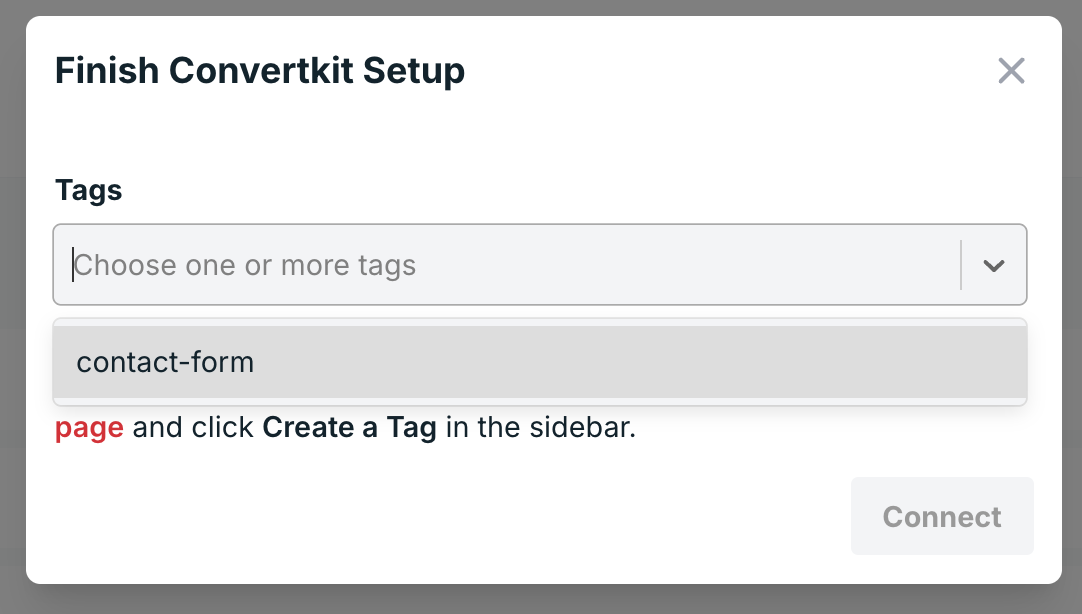
Select one, and click on the Connect button.
Once done, you’ll see Convertkit added to the Actions section of your form’s workflow tab:
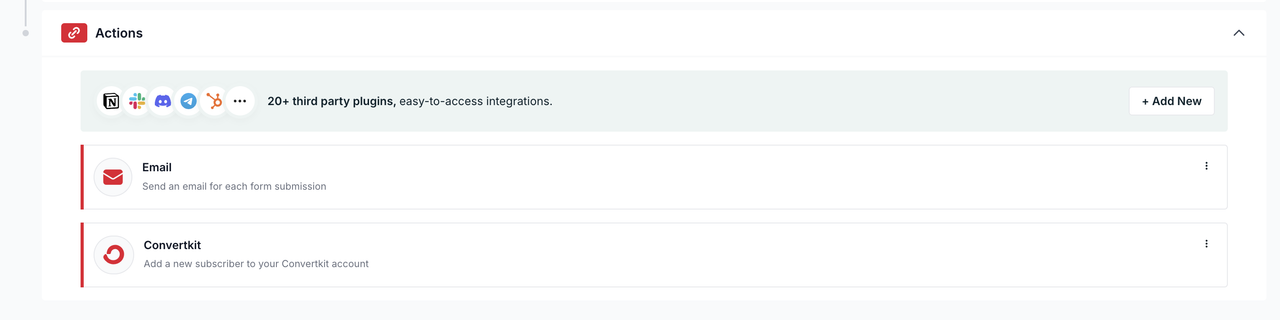
You can click the three dots at the right end to update the settings of the integration (change tags, disable integration, or delete it entirely)