Use Zendesk to create support tickets
Available on: Professional, Business plans
Zendesk is a customer service solution that is designed to be beautifully simple, and is used by many of the world’s largest organizations to provide support to their customers.
The Zendesk Plugin will add a new ticket to your Zendesk Support queue each time someone submits your form. Sometimes, when emails are forwarded directly to Zendesk without the plugin, they may be flagged as “automatically generated” and blocked. This plugin will ensure they’re reliably delivered and added to your queue. In addition, using the special named inputs below, you can customize the ticket.
Form Setup
Before using the Zendesk Plugin you must create a form to collect support requests. Any HTML form will work, as long as it contains an “email” or “phone” input. In addition, there are a few special named inputs you can use to customize the Zendesk ticket.
In order to know who the ticket submitter is, your form must either contain an input named email or phone.
name=“email” (Potentially required)
Your form can contain an “email” named input. To take advantage of built-in browser validation, set the input type to “email”.
Formspree will use the email address to create a new Zendesk user. If a user already exists with the given email address, it will add the ticket under that account.
For example:
<input type="email" name="email" placeholder="Your email address" required>name=“phone” (Potentially required)
Your form can contain an “phone” named input. To take advantage of built-in browser validation, set the input type to “tel”.
Formspree will use the phone number to create a new Zendesk user. If a user already exists with the given phone number, it will add the ticket under that account.
For example:
<input type="tel" name="email" placeholder="Your phone number" required>name=“name”
Adding an input named “name”, or using “fisrtName” and “lastName” inputs, will set the user’s name on the ticket.
<input type="text" name="firstName" placeholder="Your first name">
<input type="text" name="lastName" placeholder="Your last name">
or
<input type="text" name="name" placeholder="Your full name">name=“subject”
Adding an input named “subject” will set the subject line of the ticket. When implementing your form you may choose to use a text input and allow the user to provide their own subject line. For example:
<input type="text" name="subject" placeholder="What's the subject of your request?">Alternatively you may choose to use a select input, allowing your visitor to select from a list of predefined subjects. For example:
<select name="subject">
  <option value="Technical Support Request">Technical Support Request</option>
  <option value="Sales Request">Sales Request</option>
</select>
name=“message”
Adding an input named “message”, or alternatively “msg”, will set the main text content of the support ticket. In Zendesk this is also called the first comment, or description. Normally it’s best to use a textarea tag for the message, allowing the visitor to type in multiple lines.
<textarea name="message"></textarea>name=“priority”
An input named “priority” can be used to set the priority of the Zendesk ticket. This can be a select tag, allowing the user to specify the request priority. Alternatively you can set the priority explicitly using a hidden input field. The value of the input must be one of “low”, “normal”, “high”, or “urgent”.
Examples:
<select name="priority">
  <option value="low">Low</option>
  <option value="normal">Normal</option>
  <option value="high">High</option>
  <option value="urgent">Urgent</option>
</select>

<!-- or -->

<input type="hidden" name="priority" value="high">
name=“urgent”
An input named “urgent” can be used to set the priority of the Zendesk ticket to urgent. This can be implemented as a checkbox input, allowing the user to request urgent attention. Any non-empty value for the “urgent” input will cause the ticket’s priority to be set to urgent.
<input type="checkbox" name="urgent" value="true">Connecting to Zendesk
Note: If you’re using the Formspree CLI please instead refer to our article Create support tickets in Zendesk to connect to Zendesk.
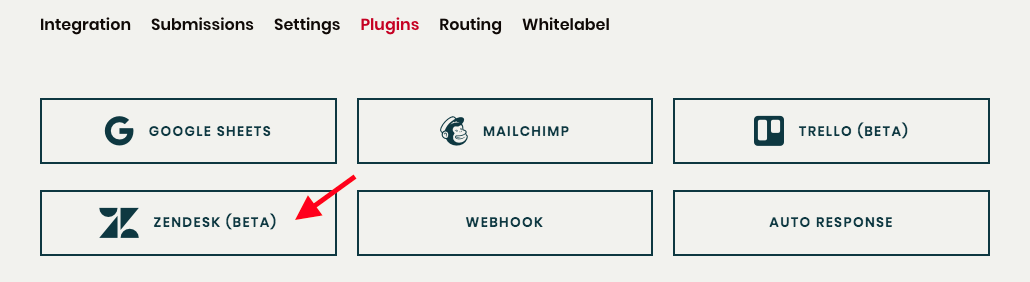
Once you’ve created and configured a form that, at a minimum, has an input named “email”, you can connect to Zendesk using the Zendesk Plugin. To do so, first go to the Plugins tab of your form. Then click the Zendesk Plugin button.
You’ll need to specify the subdomain of your Zendesk account, and then sign in using your administrator username and password.
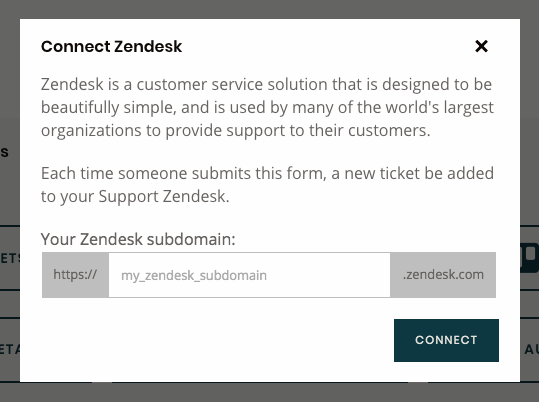
Once you’ve connected the account, nothing further is required. New form submissions will generate tickets in Zendesk.