Use Salesforce to create Leads
Available on: Professional, Business plans
Salesforce is a powerful customer relationship management (CRM) tool designed to help teams manage leads, track opportunities, and build strong customer relationships.
When you connect your form to a Salesforce account, each submission will automatically create a new lead in Salesforce. This entry can include details such as the lead’s name, email, phone number, and any other relevant information provided through the form submission.
Form Setup
Before using the Salesforce Plugin, you must create a form to collect the necessary information. Any HTML form will suffice, as long as it includes the fields you want to map to your Salesforce leads, such as name, email, phone number, or any other custom fields you require. Additionally, during the plugin setup, ensure that you select the lead status and source (which is optional). These fields should already be set up in Salesforce to receive new leads. You can also customize the form to include any additional standard or custom fields required for your Salesforce records.
Special Fields
name=“lastName” (Required)
Formspree will use the lastName field to set the LastName in Salesforce. This field is required for creating a lead in Salesforce. If a lead is created, this field will be used as the lead’s last name.
For example:
<input type="text" name="lastName" placeholder="Last Name" required>name = “company” (Required)
Formspree will use the company field to set the Company name in Salesforce. This field is also required for creating a lead in Salesforce. If a lead is created, this field will be used as the lead’s company.
For example:
<input type="text" name="company" placeholder="Company" required>name = “email”
Formspree will use the email field to set the Email address in Salesforce. This field is used to populate the lead’s email address in Salesforce.
For example:
<input type="email" name="email" placeholder="Email" required>name = “phone”
Formspree will use the phone field to set the Phone in Salesforce. This field is used to populate the lead’s phone number in Salesforce.
For example:
<input type="email" name="email" placeholder="Email" required>name = “message”
Formspree will use the message field to set the Description in Salesforce. This field will be used to populate the lead’s description in Salesforce.
For example:
<input type="text" name="message" placeholder="Description" required>name = “zip”
Formspree will use the zip field to set the postalCode in Salesforce. This field will be used as the lead’s postal code.
For example:
<input type="text" name="zip" placeholder="zip" required>Known Fields (All are optional)
In addition to the required fields like lastName and company, there are other optional fields that can be included in the form and will be sent to Salesforce when creating a lead. The following fields are optional, and if submitted, will be included in the lead record.
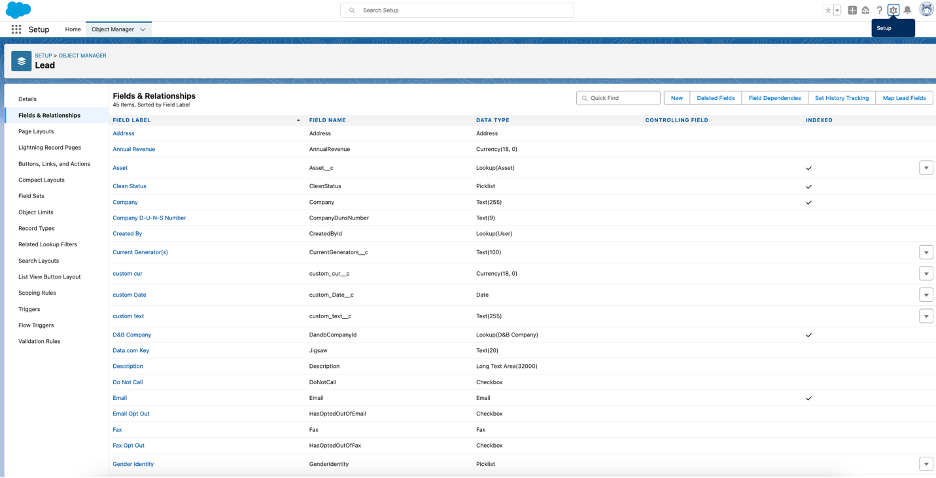
Formspree will consider any field names that match the Field Name in Salesforce. To find these, go to Salesforce -> Setup -> Object Manager -> Lead -> Fields and Relationships, and look under the FIELD NAME column. If the form includes a field with the same name as a Salesforce field, it will be mapped to that lead field automatically.
Example:
Note:
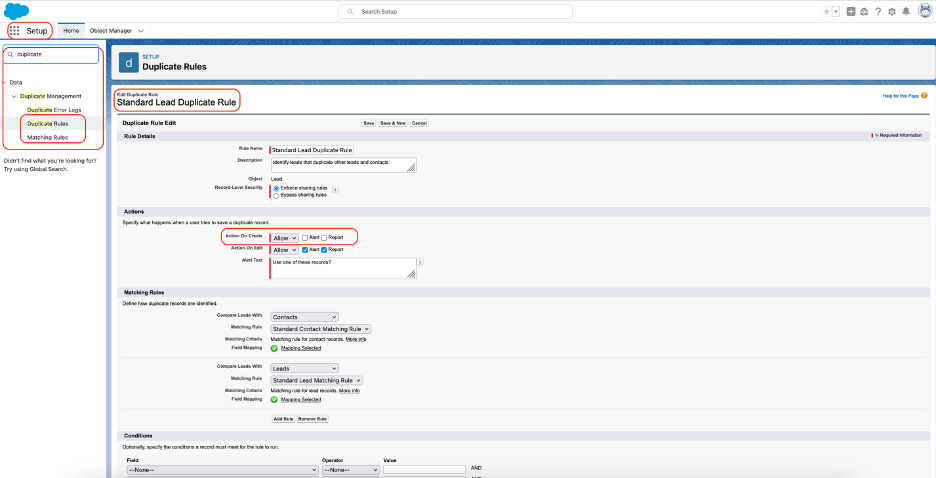
Duplicate records will not be created if the ‘Action on Create’ in Setup -> Duplicate Management -> Duplicate Rules -> Standard Lead Duplicate Rules (or any custom rule) is configured to block duplicates. Even if record creation is allowed under ‘Action on Create,’ duplicate creation can still be prevented if the Alert and Report options are enabled. The blocking or rejection of records is based on the matching criteria defined in Setup -> Duplicate Management -> Matching Rules.
Example:
Connecting to Salesforce
Using Workflow
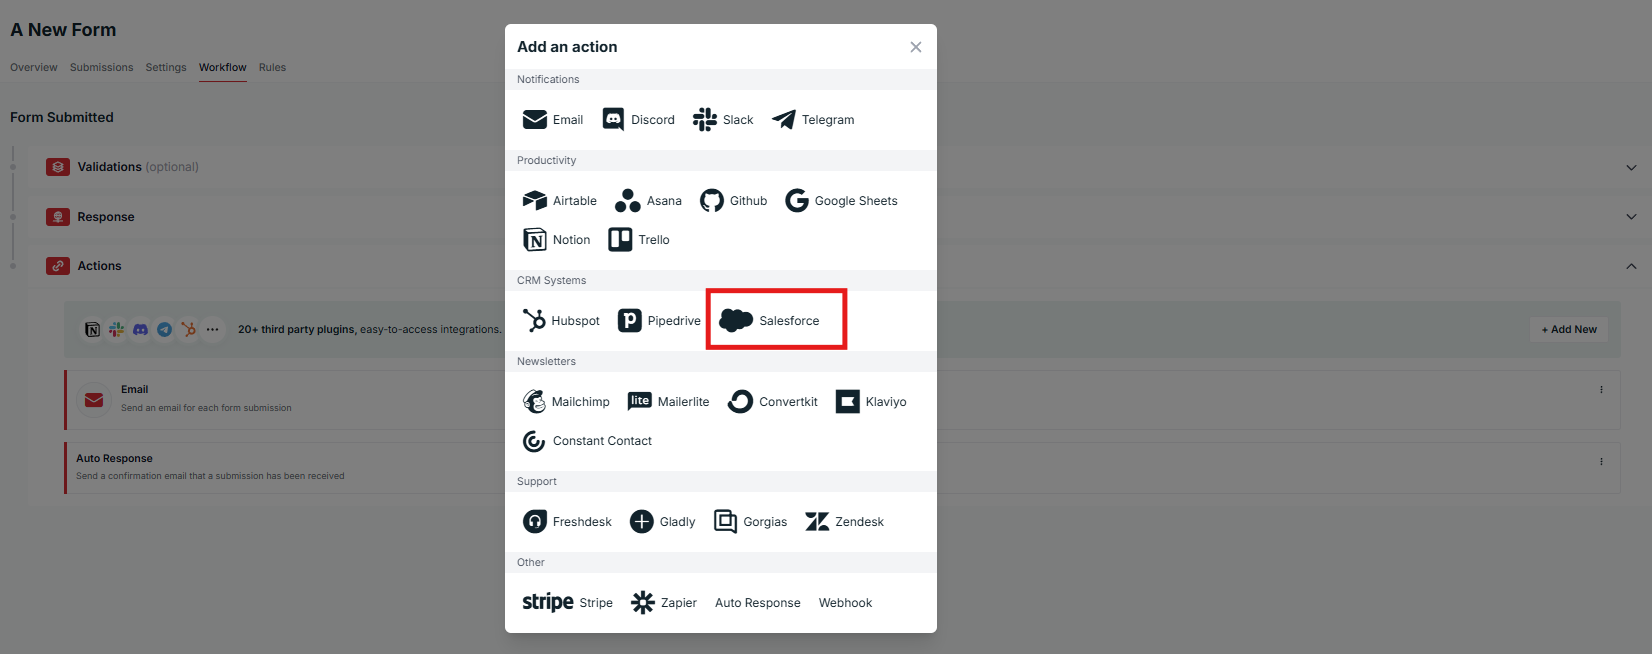
Once you’ve created and configured a form, you can connect to Salesforce using the Salesforce Plugin. To do so, first go to the Workflow tab of your form. Click “+Add New” under the “Actions” section, then click the Salesforce button as shown below:
Using Plugins (Legacy)
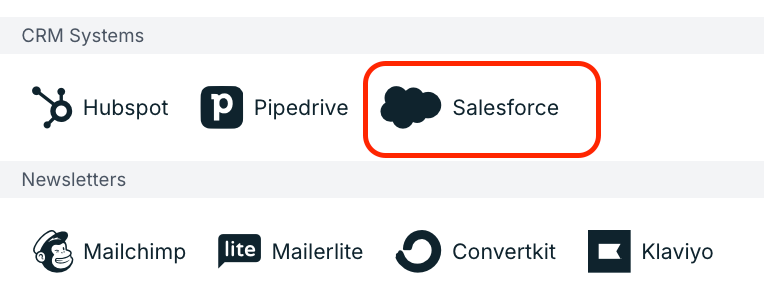
Once you’ve created and configured a form, you can connect to Salesforce using the Salesforce Plugin. To do so, first, go to the Plugins tab of your form. Then click the Salesforce button as shown below:
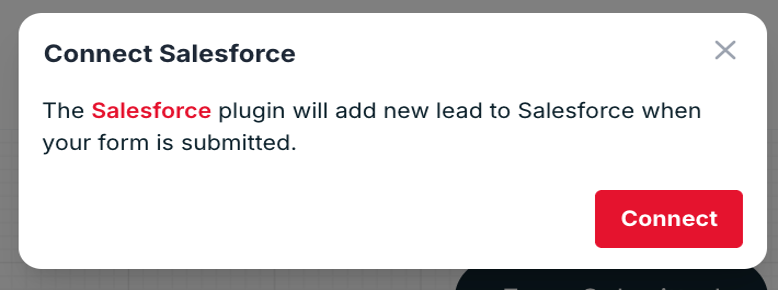
After clicking on the Salesforce plugin button, the following dialogue window will open and in which you need to click on connect button.
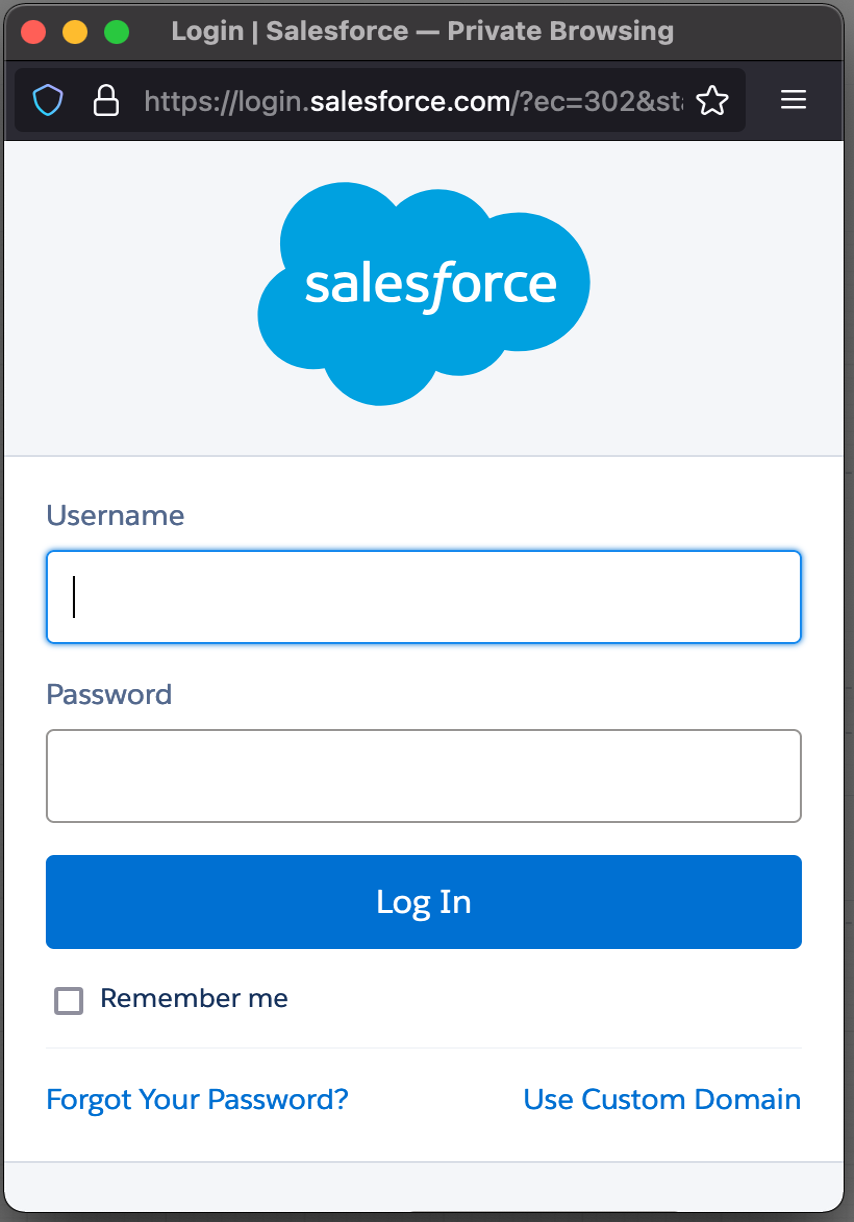
Then after clicking the “Connect” button, you need to login in to Salesforce by entering your username and password and click on “Sign In” button as shown below,
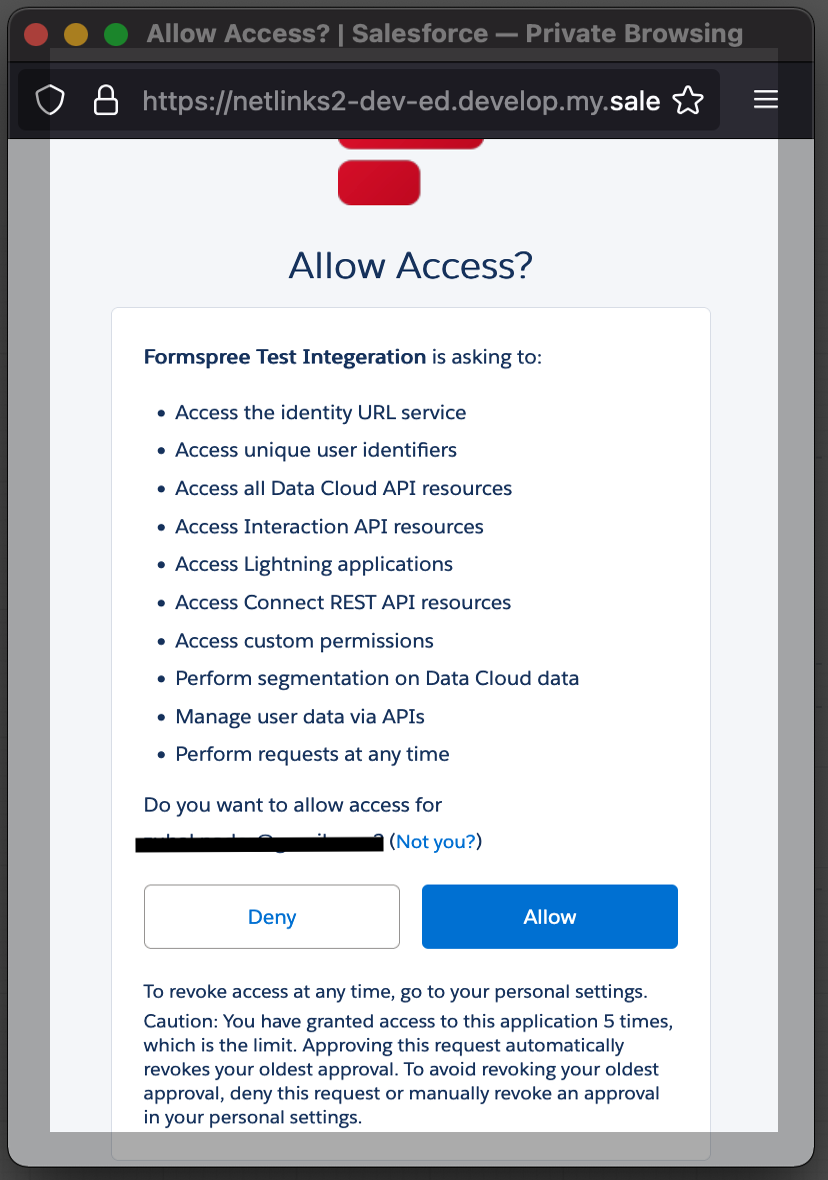
After successfully logging in, you need to allow the required permissions as shown below:
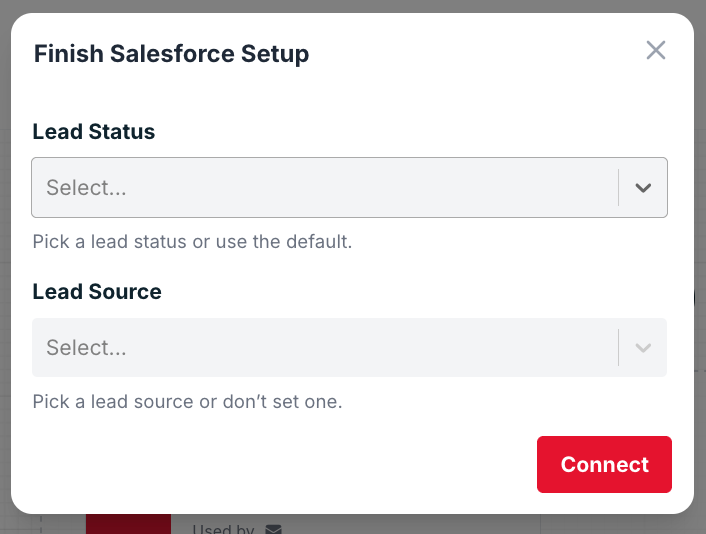
After successfully logging in and granting the necessary permissions to Salesforce, the user needs to select the Lead Status and Lead Source. User can select the default Status by choosing the “— Use Salesforce Default –” option and no Source by choosing the “—Don’t set lead source —” option in the Finish Setup window as shown below:
Changing Settings of the Plugin
If the user wants to change the settings of the plugin, they can navigate to the Workflow tab in the Formspree interface, locate the Salesforce plugin, and click on the three-dotted button as shown in the red square in the image below. Then, click on the Settings button.
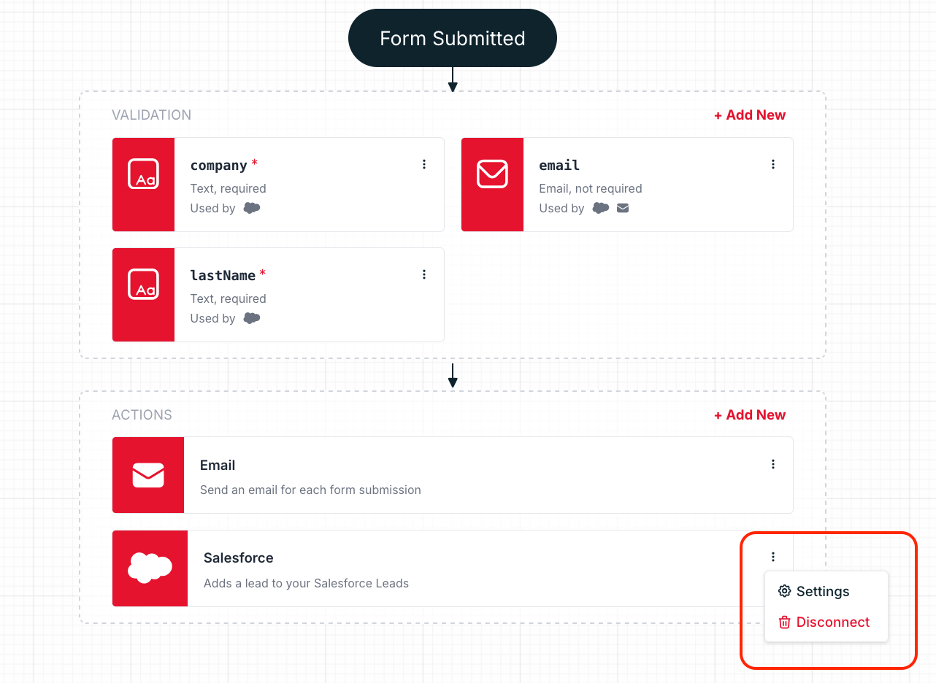
After when clicked the settings button, then you can change the settings of the plugin as you want. It will be the same as finishing the setup while adding the plugin at the very first time.
You can also remove or disconnect the plugin from the Formspree by clicking on the red button named “Disconnect”.