# Proteger tus formularios con Cloudflare Turnstile

> Formspree Docs · Configuración de formularios y proyectos · 14 de abril de 2026

[**Cloudflare Turnstile**](https://www.cloudflare.com/products/turnstile/) es una alternativa moderna y centrada en la privacidad a los CAPTCHA. Proporciona detección de bots sin fricción y sin desafíos para el usuario, mejorando tanto la accesibilidad como la seguridad del formulario.

Formspree es compatible con Turnstile de fábrica: solo configura tus claves y habilita el CAPTCHA en la configuración de tu formulario.

## Paso 1: Crear un sitio en Turnstile

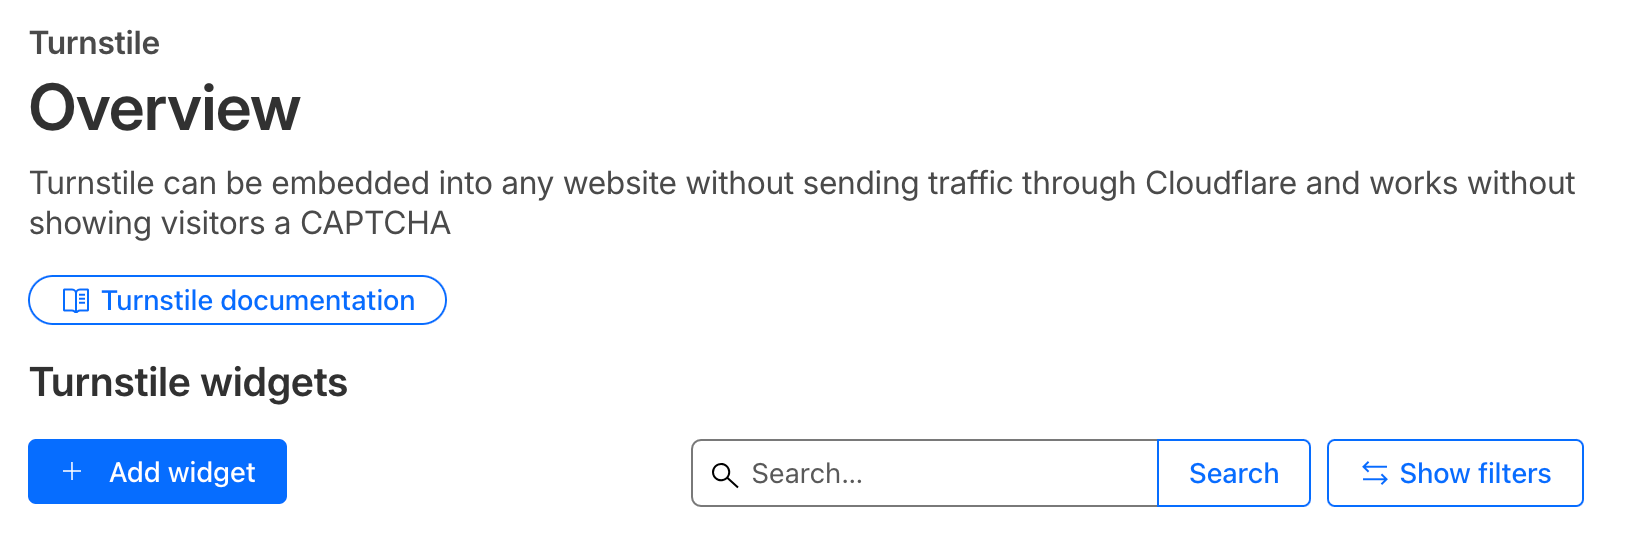
Empieza visitando el [**panel de Cloudflare Turnstile**](https://dash.cloudflare.com/login).

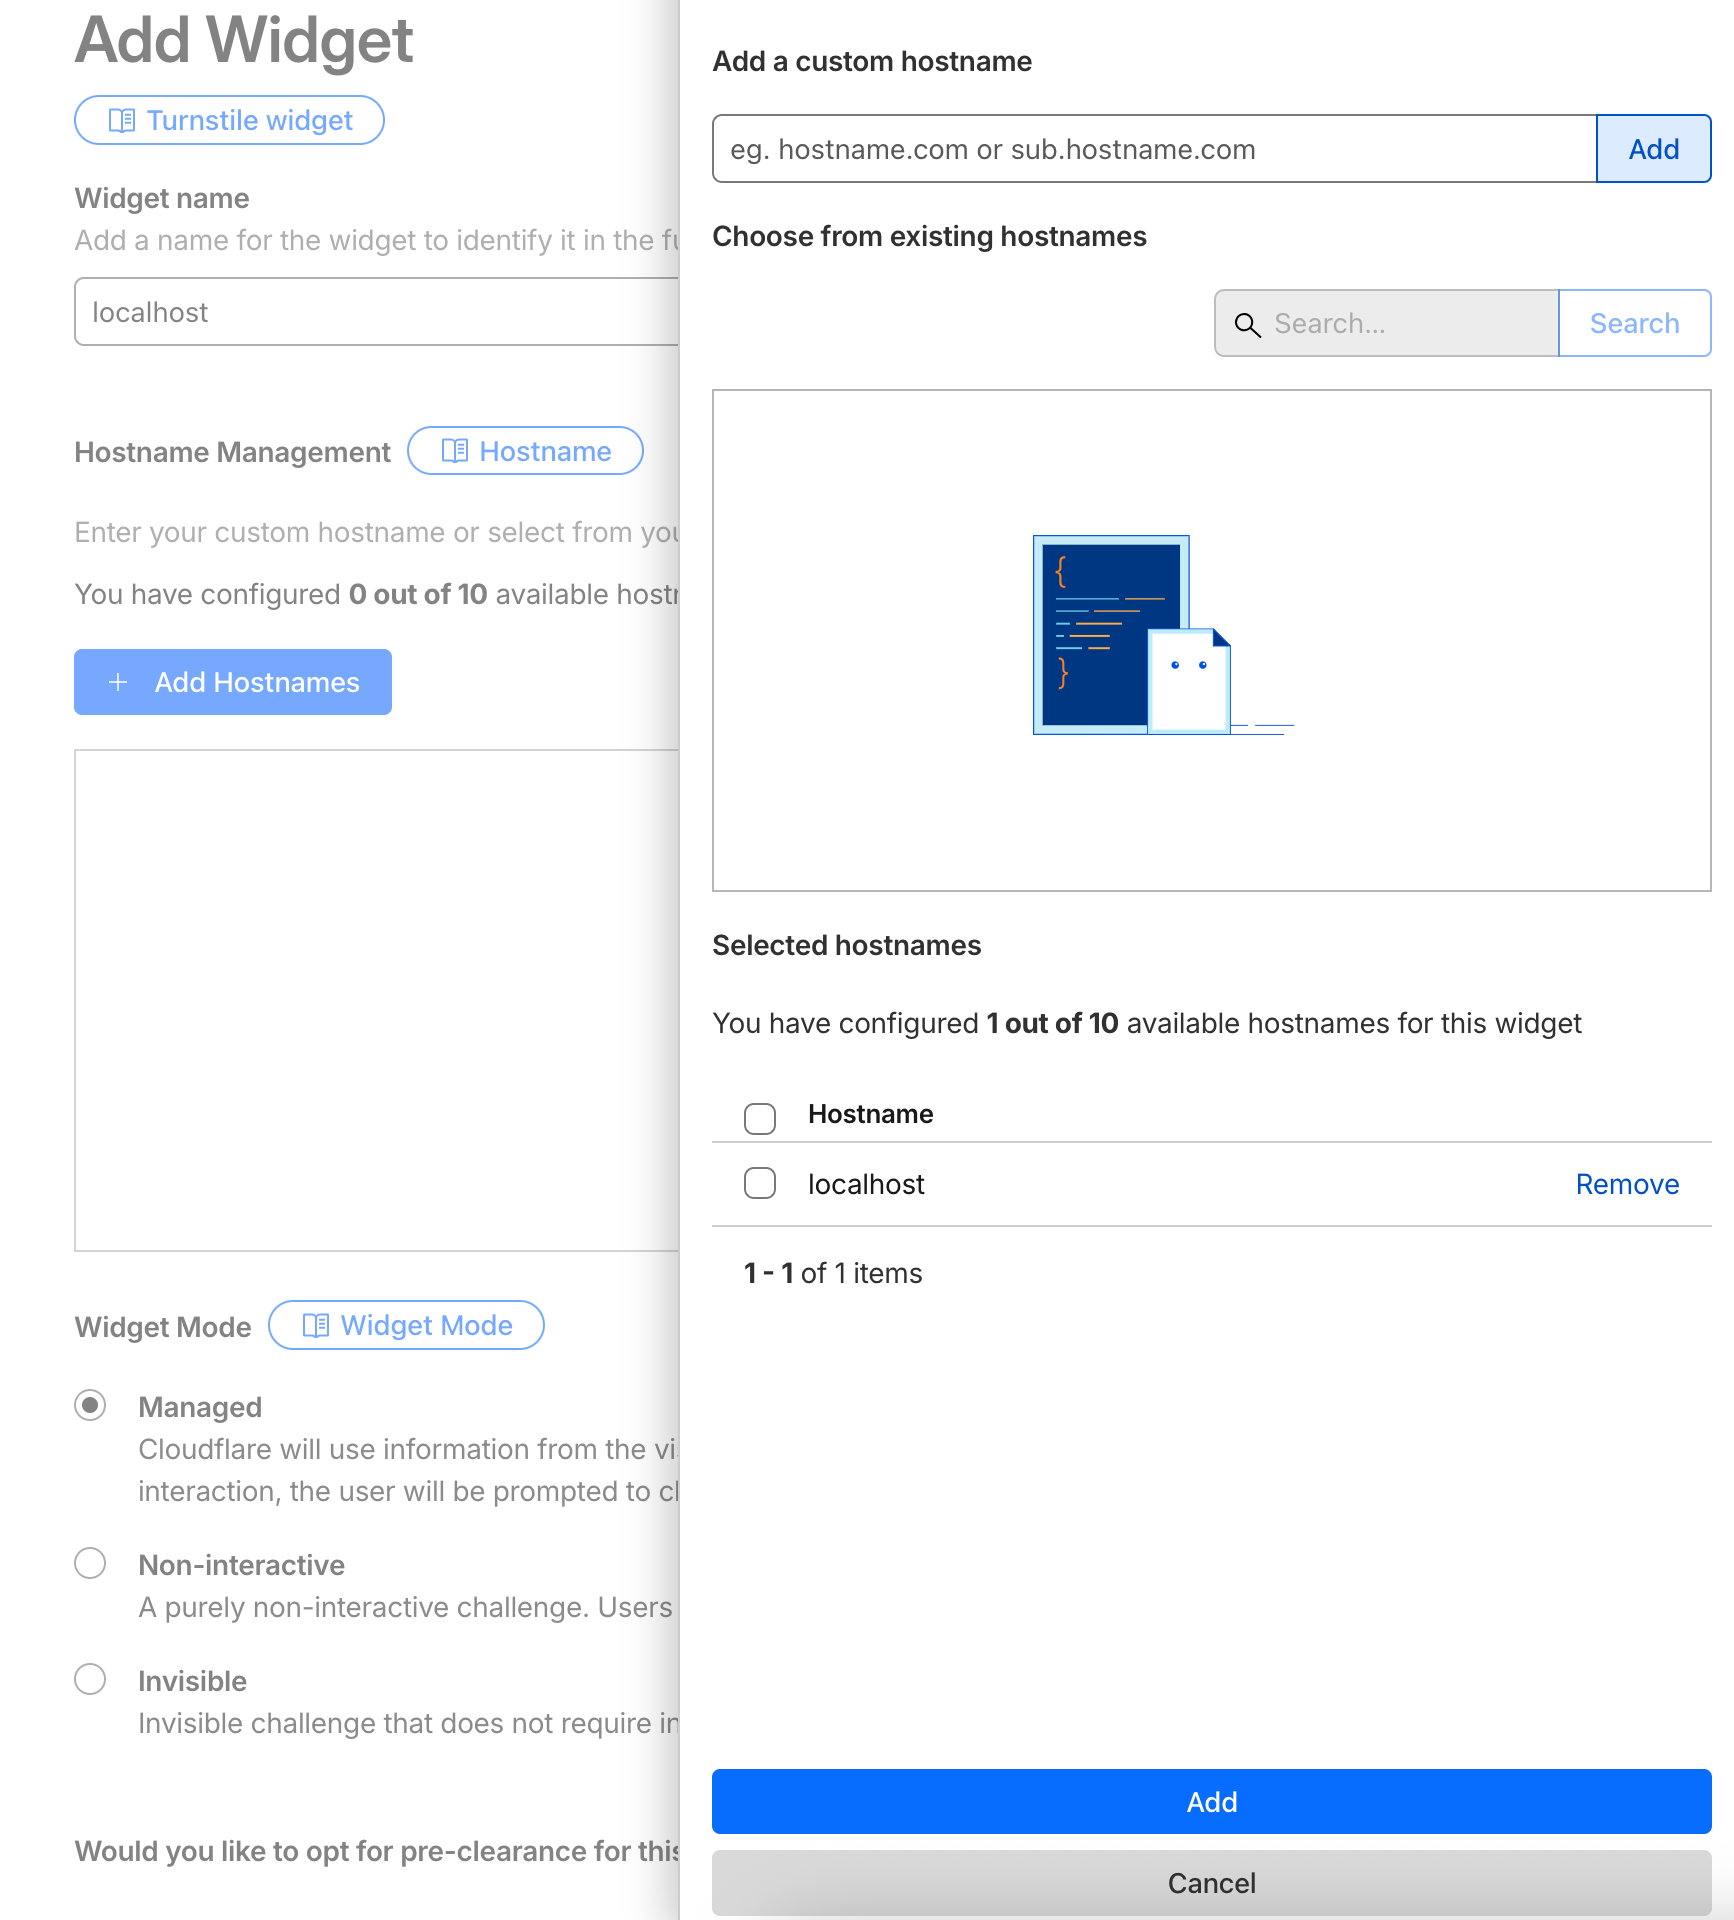
Haz clic en **Add widget** para crear un nuevo sitio en Turnstile, luego:

![](/images/zendesk/bc4a8a1144d62f97.png)

1.  Ingresa un **nombre** para tu sitio.
2.  Agrega tu **dominio** (por ejemplo, `example.com`) en _Allowed Domains_. Usa [localhost](http://localhost) para fines de desarrollo.
3.  Elige el **modo del widget**.

![](/images/zendesk/521525158f0b0557.png)

Guarda la configuración. Una vez creado, verás tus nuevas claves del widget.

![](/images/zendesk/215916e29d42d475.png)

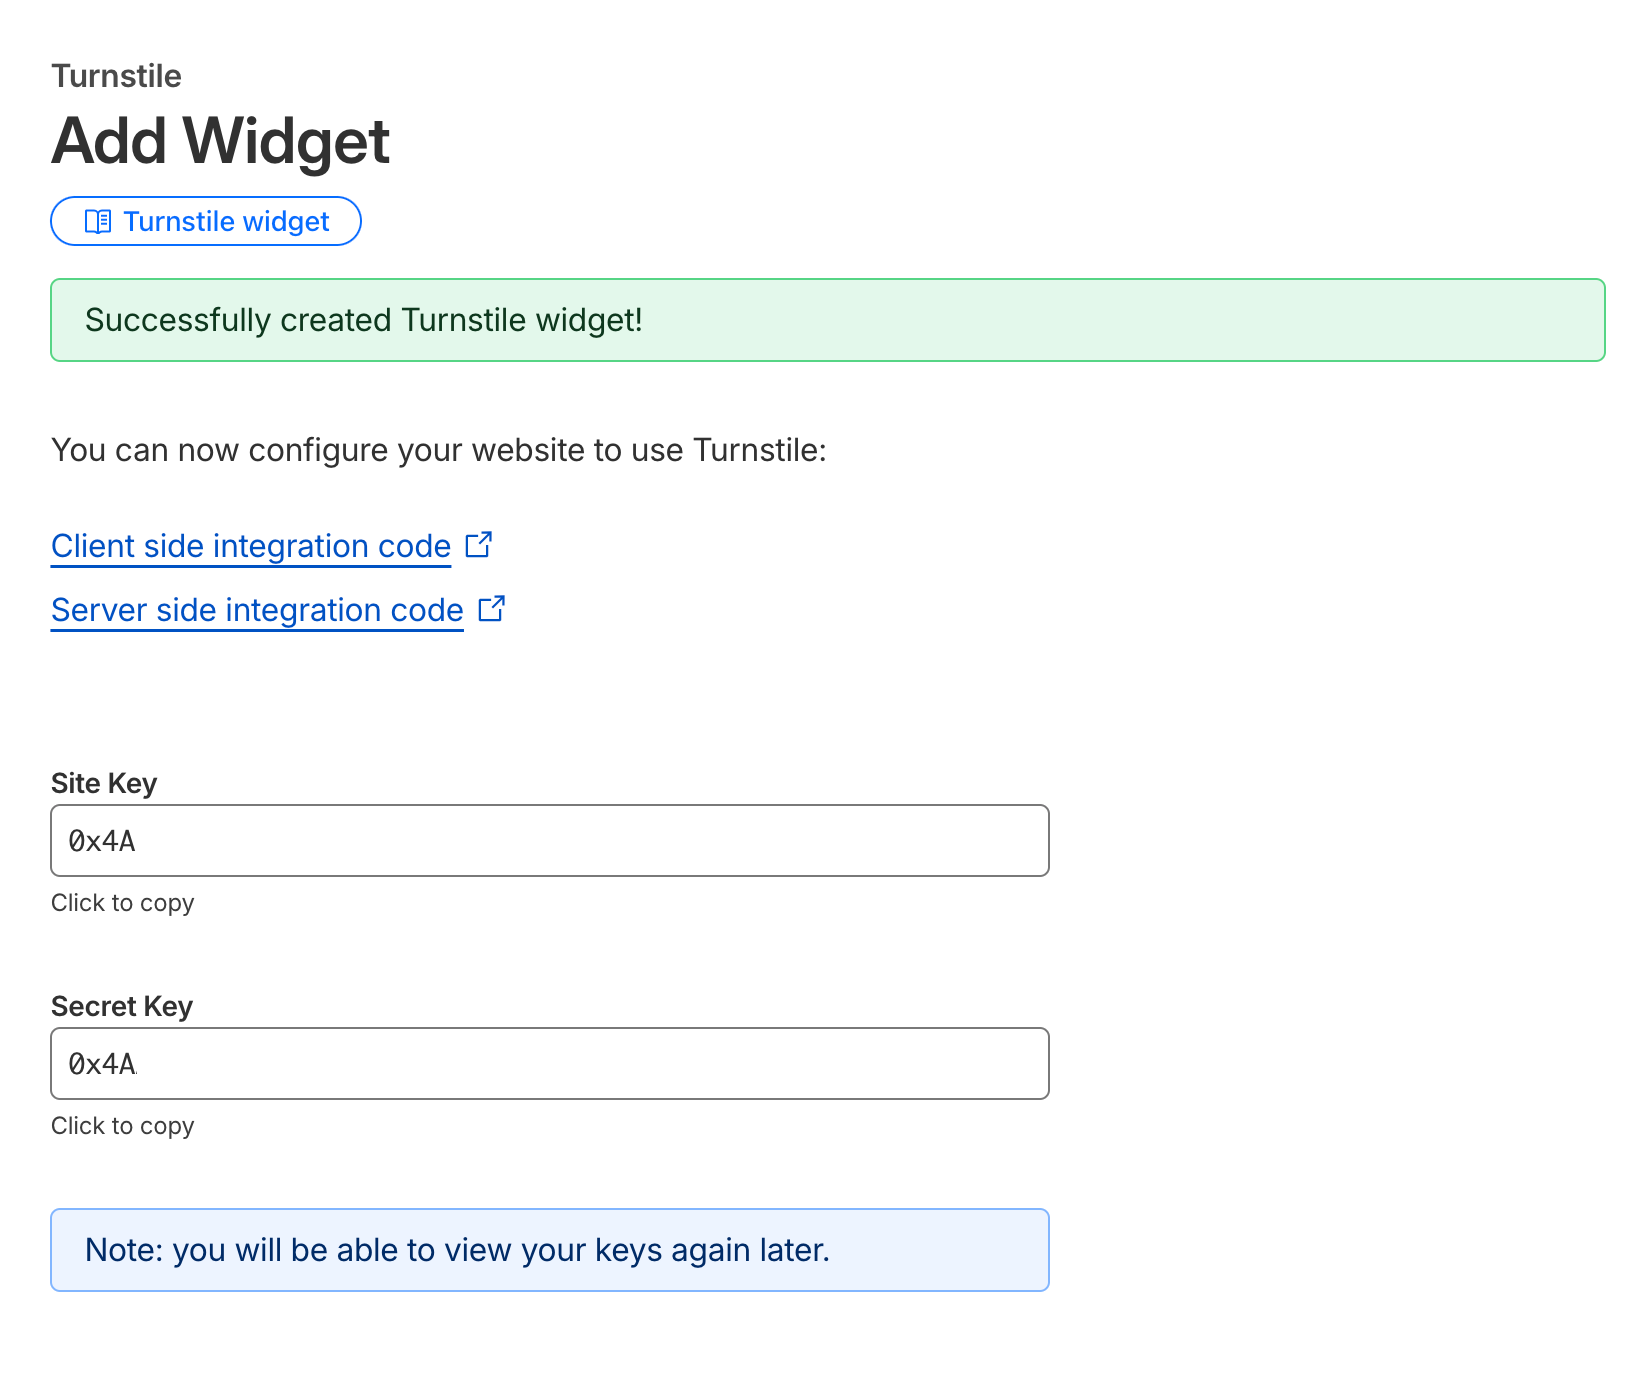
Copia la **Site Key y la Secret Key**: las usarás en tu formulario HTML y en la configuración de Formspree.

## Paso 2: Configurar el CAPTCHA en Formspree

Ve a la página de configuración de tu formulario en el [**panel de Formspree**](https://formspree.io/dashboard).

En la sección **CAPTCHA**, asegúrate de que la protección CAPTCHA esté **habilitada**.

Haz clic en **Adjust settings**, selecciona **Cloudflare Turnstile** y pega tu **Secret Key** en el campo proporcionado.
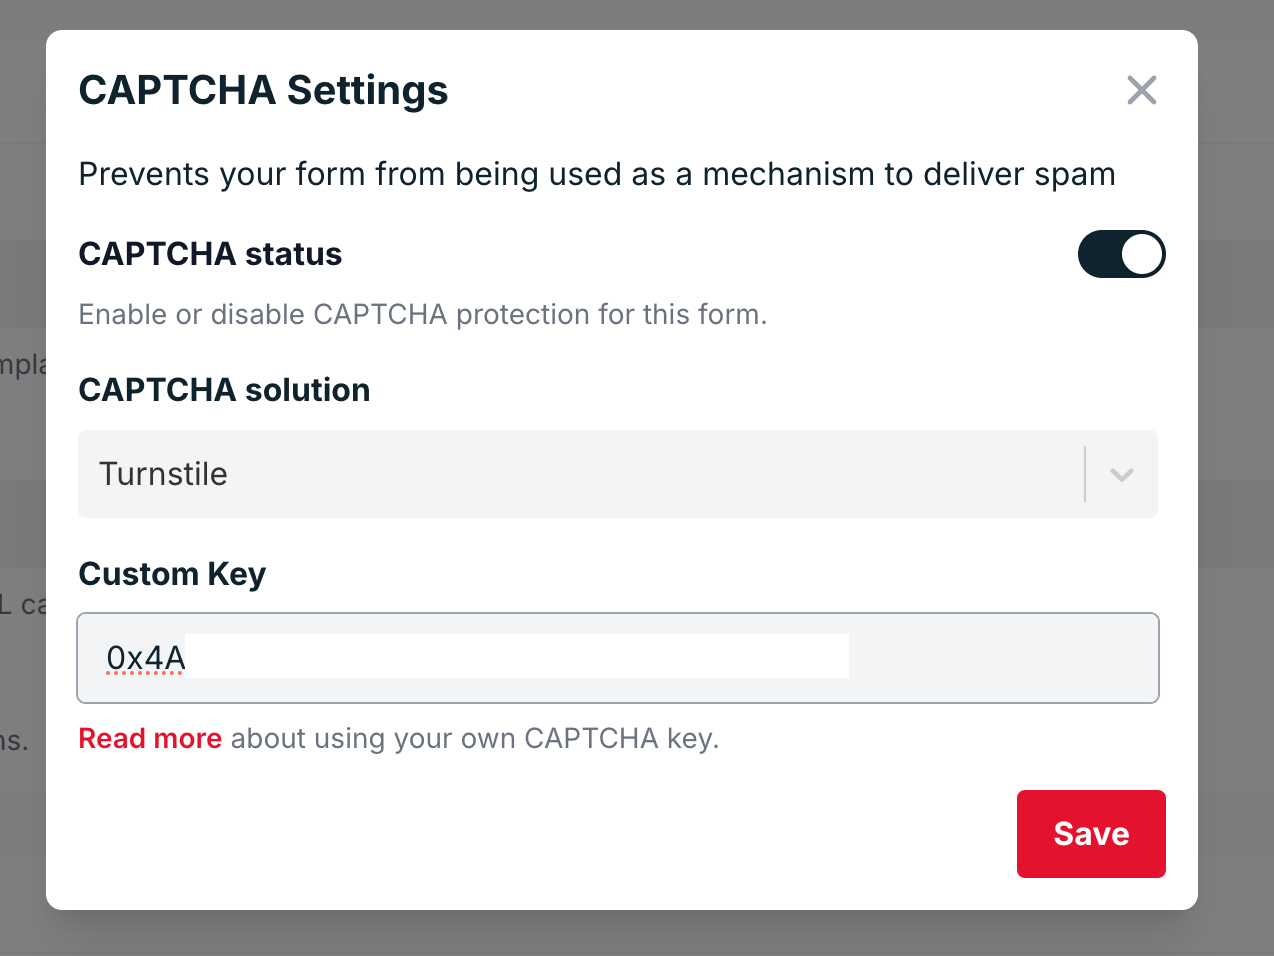
![](/images/zendesk/bf1ee8ffccbe6861.png)

Guarda los cambios.

## Paso 3: Agregar Turnstile al HTML de tu formulario

Ahora es momento de agregar Turnstile a tu formulario. Incluye el **script de Turnstile** y tu **Site Key** en tu código HTML.

Aquí tienes un ejemplo básico:

```html
<html>
  <head>
    <title>Turnstile Demo</title>
    <script src="https://challenges.cloudflare.com/turnstile/v0/api.js" async defer></script>
  </head>
  <body>
    <form action="https://formspree.io/f/{your-form-id}" method="POST">
      <input type="email" name="email" placeholder="Email" required />
      <div class="cf-turnstile" data-sitekey="{your-site-key}"></div>
      <br />
      <input type="submit" value="Submit" />
    </form>
  </body>
</html>
```

Cuando un usuario envía el formulario, el widget de Turnstile genera automáticamente un token (`cf-turnstile-response`) que Formspree verifica usando tu Secret Key.

## Usando AJAX (Opcional)

Si estás enviando tu formulario mediante AJAX, puedes incluir el token de Turnstile manualmente en tu solicitud.

A continuación se muestra un ejemplo usando **Vanilla JS**:

```html
<!DOCTYPE html>
<html>
  <head>
    <title>Turnstile AJAX Demo</title>
    <!-- Turnstile script -->
    <script src="https://challenges.cloudflare.com/turnstile/v0/api.js" async defer></script>
  </head>
  <body>
    <form id="form" method="POST" action="https://formspree.io/f/<form-hashid>">
      <input type="email" name="email" placeholder="email@example.com" required />

      <!-- Turnstile widget (automatically adds hidden cf-turnstile-response input) -->
      <div class="cf-turnstile" data-sitekey="{site-key}"></div>

      <br />
      <button type="submit">Submit</button>
    </form>

    <script>
      const form = document.getElementById("form");

      form.addEventListener("submit", function (event) {
        event.preventDefault();

        // Grab all form fields, including the hidden cf-turnstile-response
        const data = new FormData(form);

        fetch(form.action, {
          method: form.method,
          body: data,
          headers: {
            "Accept": "application/json"
          }
        })
          .then(function (response) {
            return response.json();
          })
          .then(function (data) {
            console.log("Formspree response:", data);
          })
          .catch(function (error) {
            console.error("Error:", error);
          });
      });
    </script>
  </body>
</html>
```

O usando la [API de Turnstile](https://developers.cloudflare.com/turnstile/get-started/client-side-rendering/#widget-lifecycle-management)

```html
<!DOCTYPE html>
<html lang="en">
<head>
  <meta charset="UTF-8" />
  <script
    src="https://challenges.cloudflare.com/turnstile/v0/api.js?render=explicit"
    defer
  ></script>
</head>
<body>
  <form id="contact-form">
    <input type="email" name="email" placeholder="Email" required />
    <div id="turnstile-container"></div>
    <button type="submit">Send</button>
  </form>

  <script>
    let widgetId = null;

    // Render widget when the page finishes loading
    window.onload = function () {
      if (!window.turnstile) {
        console.error("Turnstile did not load.");
        return;
      }

      widgetId = window.turnstile.render("#turnstile-container", {
        sitekey: "{your-site-key}",
        callback: function (token) {
          console.log("Turnstile success:", token);
        }
      });
    };

    // AJAX submit
    document.getElementById("contact-form").addEventListener("submit", function (event) {
      event.preventDefault();
      const form = this;
      const formData = new FormData(form);

      // Ensure we send the token under the standard field name
      // If Turnstile already added a hidden input, this overwrites it.
      formData.set("cf-turnstile-response", token);

      fetch("/submit", {
        method: "POST",
        body: formData
      })
        .then((res) => {
          if (!res.ok) {
            throw new Error("Server error: " + res.status);
          }
          return res.text();
        })
        .then((text) => {
          alert("Server replied: " + text);
          // Reset for next submission
          window.turnstile.reset(widgetId);
          form.reset();
        })
        .catch((err) => {
          console.error(err);
          alert("Request failed: " + err.message);
        });
    });
  </script>
</body>
</html>
```
