# Use Zoho CRM to create leads
> Formspree Docs · Plugins · Updated September 20, 2026
#### Available on: Professional, Business plans
[Zoho CRM](https://www.zoho.com/crm/) is a sales and customer relationship platform that helps teams track leads, contacts, and deals.
When you connect your form to Zoho CRM, every submission creates a new lead in your Leads module. You can also update existing leads, set lead attributes like Lead Status straight from your form, and attach uploaded files as links on the lead.
## Form Setup
Formspree maps your form inputs to Zoho lead fields by their `name` attribute. Matching ignores case, spaces, and underscores, so `Lead Status`, `lead_status`, and `Lead_Status` all mean the same thing.
### Required Fields
#### name="email"
Every submission needs an email address. Formspree uses it to check whether the lead already exists in your CRM. While the plugin is enabled, a form without an email input rejects its submissions.
```html
```
#### name="name" or name="lastName"
Zoho requires a Last Name on every lead, so add either a single `name` input or separate `firstName` and `lastName` inputs. Formspree saves a one-word name as the Last Name.
```html
```
### Optional Lead Fields
These inputs map to the standard Zoho lead fields:
| Input name | Zoho lead field |
| --- | --- |
| `firstName`, `lastName` | First Name, Last Name |
| `company` | Company |
| `phone` | Phone |
| `website` | Website |
| `message` | Description |
| `street`, `city`, `state`, `zip`, `country` | Address fields |
### Mapping Other Zoho Attributes
Formspree maps any other input whose name matches a Zoho lead field, by either its field label or its API name. This covers standard fields like Mobile, Industry, Annual Revenue, and Designation, along with any custom field you've added to your Leads module.
To find a field's API name in Zoho CRM, go to **Settings > Developer Hub > APIs and SDK > API names** and pick the Leads module.
The same mapping lets you set lead attributes your visitors never see. Add a hidden input named after the Zoho field with the value you want:
```html
```
Formspree checks and converts each value before sending it to Zoho:
- Picklist values have to match exactly. For dropdown fields like Lead Status, Rating, or Industry, the submitted value has to be one of the options in your Zoho CRM. Formspree puts any other value in the lead's Description, so you keep the data.
- Formspree tags every lead with a Lead Source of "Formspree" when your Leads module has that option. Otherwise, set Lead Source from the form using one of your existing options.
- Formspree converts numbers, dates, and checkboxes to match the Zoho field type. A checked checkbox with no value maps to `true`.
- Any input without a matching Zoho field goes into the lead's Description as a `field: value` line, below the message.
### File Uploads
If your form has a file input, Formspree attaches the uploaded file to the lead as a link. The file itself stays hosted on Formspree, and Zoho stores the link to it.
## Connecting to Zoho CRM
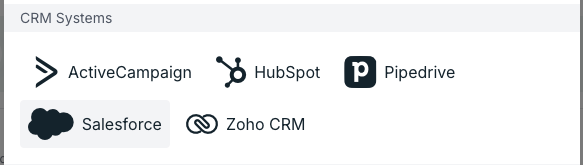
Open your form in the Formspree dashboard, go to the **Plugins** tab, and select **Zoho CRM**.
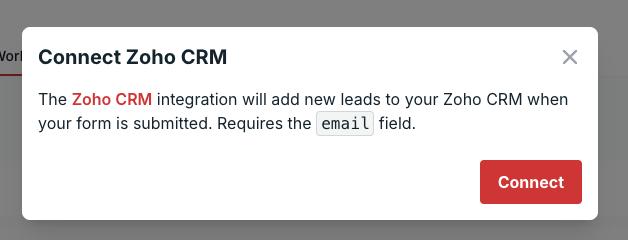
Click **Connect** to open Zoho's sign-in page. Formspree supports Zoho accounts in every region (US, EU, India, Australia, Japan, Canada, China, Saudi Arabia, and UK).
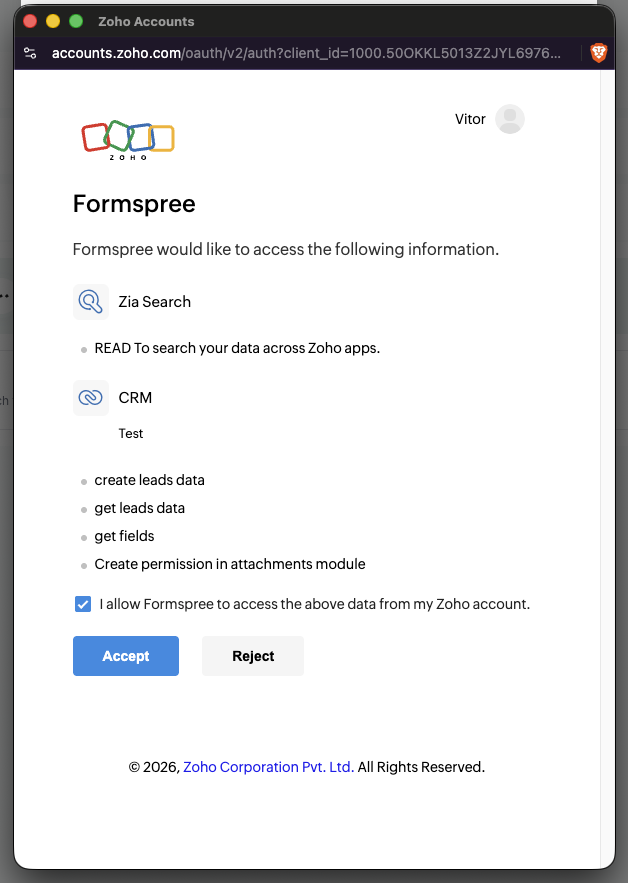
Review the requested permissions and click **Accept**. The Zoho account you sign in with needs access to a Zoho CRM organization.
Back in Formspree, choose whether to **Update existing leads**, then click **Connect** to enable the plugin.
You can change the **Update existing leads** setting anytime by opening the Zoho CRM plugin again.
### Update Existing Leads
Formspree looks for an existing lead with the same email address before creating a new one. An email address that's new to your CRM always creates a new lead.
With the setting off, which is the default, Formspree skips a submission whose email already belongs to a lead and leaves your CRM untouched. Turn it on and Formspree updates that lead with the submission data.
## Troubleshooting
- Submissions are rejected with a validation error. The form is missing an `email` or a name input, and the plugin requires both while it's enabled.
- The plugin asks you to reconnect. The Zoho session expired, or someone revoked Formspree's access. Open the plugin and click **Connect** again.
- Zoho created the lead, but the submission shows an error about attachments. Zoho couldn't attach the uploaded file link. Formspree still saves the lead, so open the submission in your dashboard to get the file.
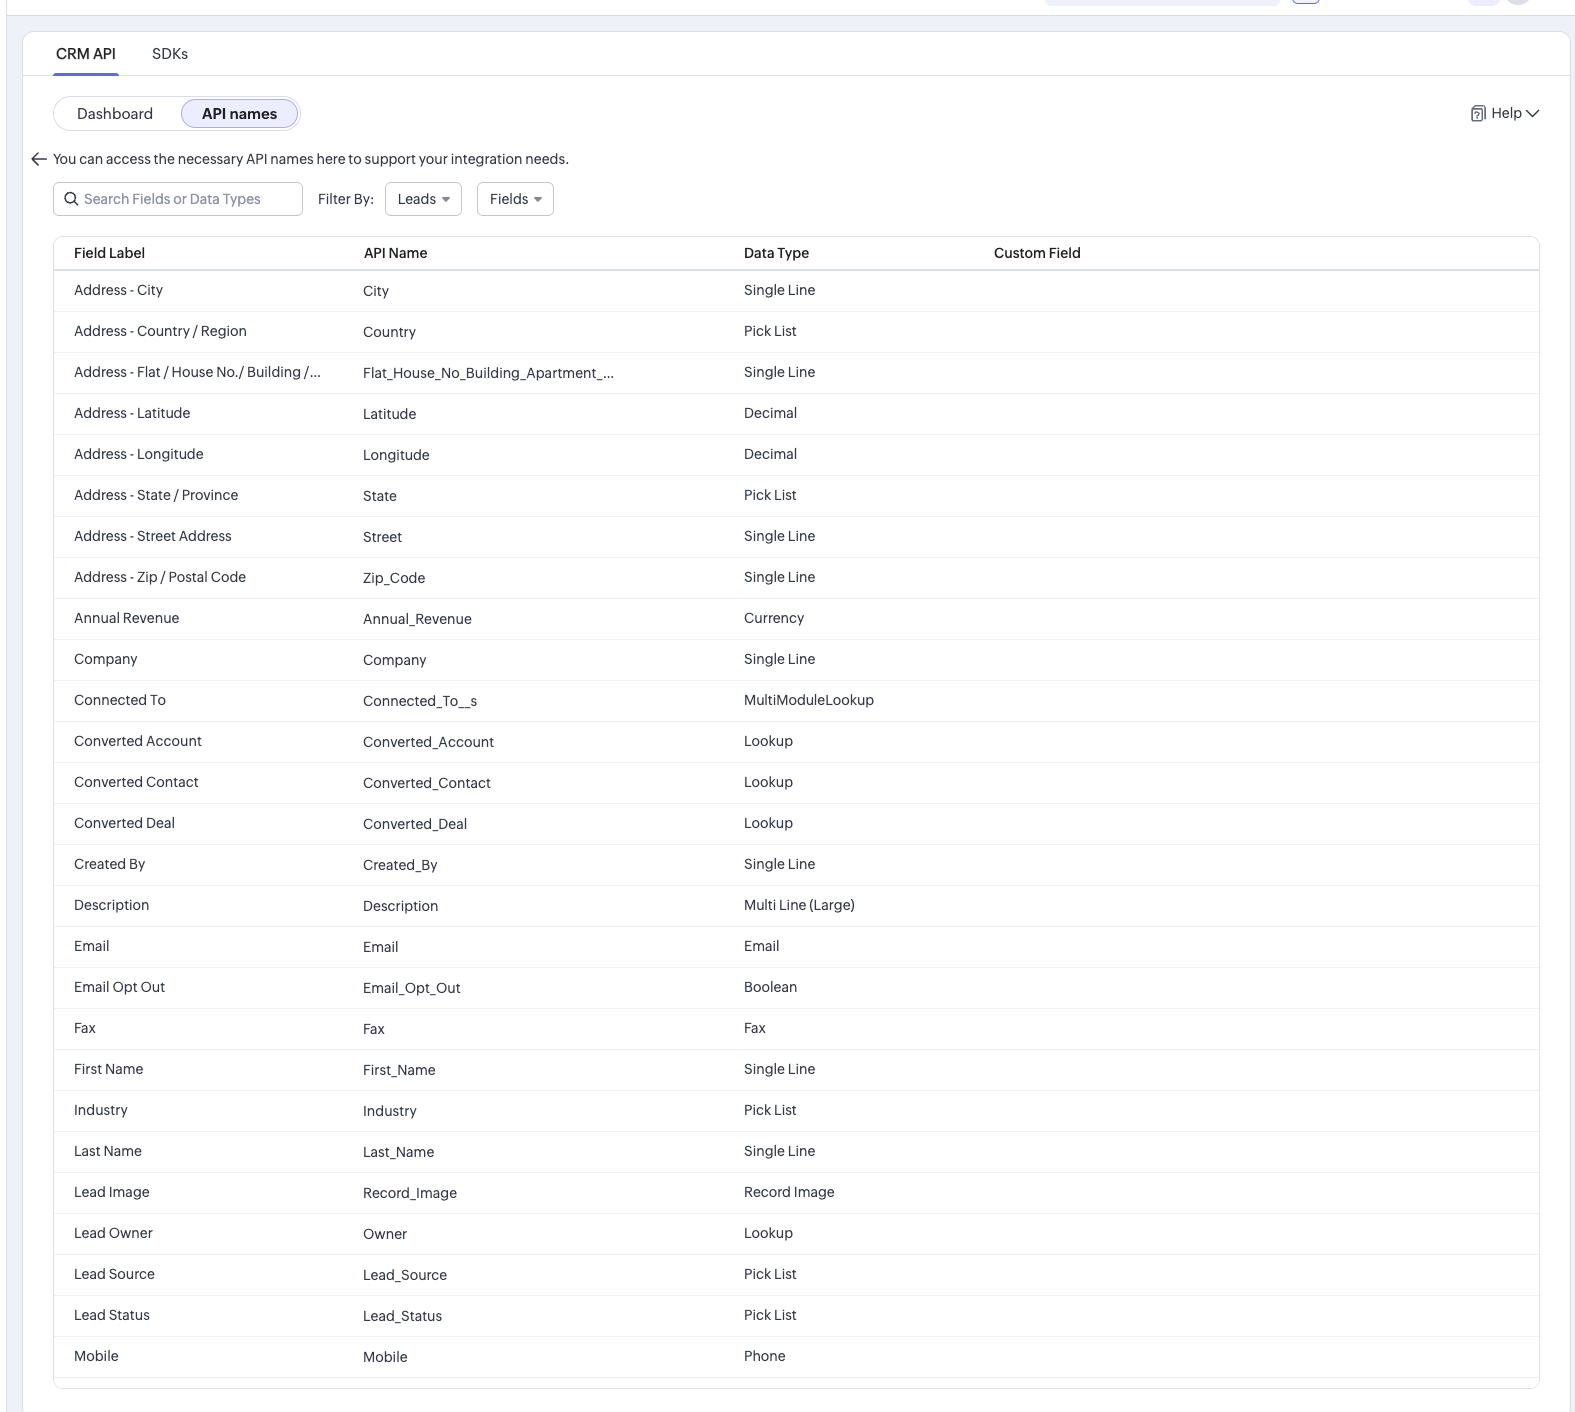 The same mapping lets you set lead attributes your visitors never see. Add a hidden input named after the Zoho field with the value you want:
```html
```
Formspree checks and converts each value before sending it to Zoho:
- Picklist values have to match exactly. For dropdown fields like Lead Status, Rating, or Industry, the submitted value has to be one of the options in your Zoho CRM. Formspree puts any other value in the lead's Description, so you keep the data.
- Formspree tags every lead with a Lead Source of "Formspree" when your Leads module has that option. Otherwise, set Lead Source from the form using one of your existing options.
- Formspree converts numbers, dates, and checkboxes to match the Zoho field type. A checked checkbox with no value maps to `true`.
- Any input without a matching Zoho field goes into the lead's Description as a `field: value` line, below the message.
### File Uploads
If your form has a file input, Formspree attaches the uploaded file to the lead as a link. The file itself stays hosted on Formspree, and Zoho stores the link to it.
## Connecting to Zoho CRM
Open your form in the Formspree dashboard, go to the **Plugins** tab, and select **Zoho CRM**.
The same mapping lets you set lead attributes your visitors never see. Add a hidden input named after the Zoho field with the value you want:
```html
```
Formspree checks and converts each value before sending it to Zoho:
- Picklist values have to match exactly. For dropdown fields like Lead Status, Rating, or Industry, the submitted value has to be one of the options in your Zoho CRM. Formspree puts any other value in the lead's Description, so you keep the data.
- Formspree tags every lead with a Lead Source of "Formspree" when your Leads module has that option. Otherwise, set Lead Source from the form using one of your existing options.
- Formspree converts numbers, dates, and checkboxes to match the Zoho field type. A checked checkbox with no value maps to `true`.
- Any input without a matching Zoho field goes into the lead's Description as a `field: value` line, below the message.
### File Uploads
If your form has a file input, Formspree attaches the uploaded file to the lead as a link. The file itself stays hosted on Formspree, and Zoho stores the link to it.
## Connecting to Zoho CRM
Open your form in the Formspree dashboard, go to the **Plugins** tab, and select **Zoho CRM**.
 Click **Connect** to open Zoho's sign-in page. Formspree supports Zoho accounts in every region (US, EU, India, Australia, Japan, Canada, China, Saudi Arabia, and UK).
 Review the requested permissions and click **Accept**. The Zoho account you sign in with needs access to a Zoho CRM organization.
 Back in Formspree, choose whether to **Update existing leads**, then click **Connect** to enable the plugin.
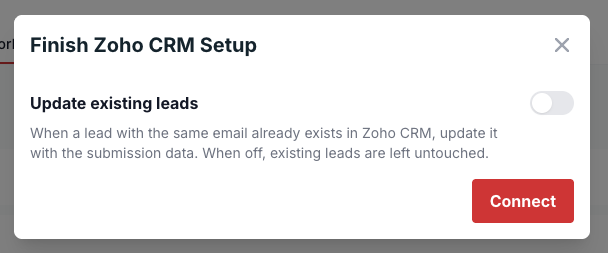 You can change the **Update existing leads** setting anytime by opening the Zoho CRM plugin again.
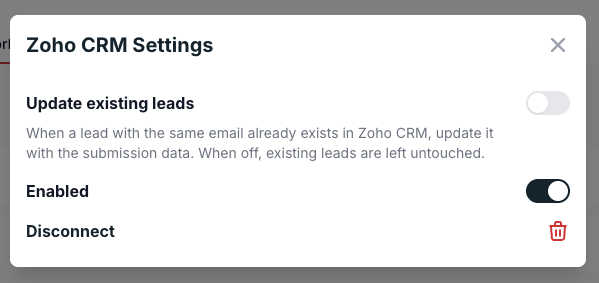 ### Update Existing Leads
Formspree looks for an existing lead with the same email address before creating a new one. An email address that's new to your CRM always creates a new lead.
With the setting off, which is the default, Formspree skips a submission whose email already belongs to a lead and leaves your CRM untouched. Turn it on and Formspree updates that lead with the submission data.
## Troubleshooting
- Submissions are rejected with a validation error. The form is missing an `email` or a name input, and the plugin requires both while it's enabled.
- The plugin asks you to reconnect. The Zoho session expired, or someone revoked Formspree's access. Open the plugin and click **Connect** again.
- Zoho created the lead, but the submission shows an error about attachments. Zoho couldn't attach the uploaded file link. Formspree still saves the lead, so open the submission in your dashboard to get the file.
### Update Existing Leads
Formspree looks for an existing lead with the same email address before creating a new one. An email address that's new to your CRM always creates a new lead.
With the setting off, which is the default, Formspree skips a submission whose email already belongs to a lead and leaves your CRM untouched. Turn it on and Formspree updates that lead with the submission data.
## Troubleshooting
- Submissions are rejected with a validation error. The form is missing an `email` or a name input, and the plugin requires both while it's enabled.
- The plugin asks you to reconnect. The Zoho session expired, or someone revoked Formspree's access. Open the plugin and click **Connect** again.
- Zoho created the lead, but the submission shows an error about attachments. Zoho couldn't attach the uploaded file link. Formspree still saves the lead, so open the submission in your dashboard to get the file.